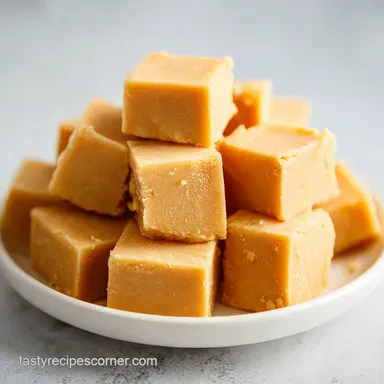
Microwave Peanut Butter Fudge: Silky and Dense
- Time: 5 min active + 2 hours 2 mins chilling = Total 2 hours 7 mins
- Flavor/Texture Hook: Silky, dense, and buttery with a clean snap
- Perfect for: Holiday platters, surprise guests, or late night cravings
That smell of toasted peanut butter warming up in the microwave is an instant mood booster. I remember one December when I'd completely blanked on bringing a dessert to my cousin's housewarming party. I walked in with nothing but a bottle of wine and a look of pure panic.
Luckily, she had a microwave and some basic pantry staples, so I spent ten minutes in her kitchen whipping this up while the guests were still arriving.
When I brought the tray out, the fudge had this glossy, mirror like finish that looked like it came from a high end confectionery. People were actually shocked when I told them it only took a few minutes of active work. Here is the ultimate recipe for Quick Easy 3 Ingredient Microwave Peanut Butter Fudge.
It's the kind of recipe that makes you look like a baking pro without the stress of candy thermometers or hours over a hot stove.
You can expect a rich, dense treat that balances the saltiness of the peanut butter with the creamy sweetness of white chocolate. It doesn't have that grainy texture you sometimes get with old school fudge, but rather a velvety consistency that feels luxurious.
Trust me on this, once you try the microwave method, you'll never go back to the stovetop.
Why the Texture Wins
The secret to this fudge is how the ingredients interact under quick heat. Instead of boiling sugar to a specific temperature, we're using a pre stabilized sugar base.
- Emulsion Stability: The fats in the peanut butter and white chocolate bond with the condensed milk, creating a smooth, unified structure.
- Sugar Concentration: Sweetened condensed milk provides a high sugar to water ratio, which prevents the fudge from becoming grainy.
- Rapid Set: The cocoa butter in the white chocolate chips acts as a structural agent, allowing the fudge to firm up quickly in the fridge.
- Fat Suspension: Because we stir in intervals, the fat doesn't separate, keeping the mouthfeel silky rather than oily.
| Method | Time | Texture | Best For |
|---|---|---|---|
| Traditional Stovetop | 1 hours | Grainy/Crystalline | Old school nostalgia |
| Microwave Shortcut | 5 minutes | Velvety/Smooth | Modern hosting |
| No Churn/Raw | 10 minutes | Soft/Pasty | Ultra fast snacks |
Right then, let's look at what's actually happening inside the bowl. When you heat these specific ingredients, you aren't just melting them, you're creating a stable suspension of fat and sugar.
Quick Recipe Specs
This recipe is designed for efficiency and elegance. We aren't messing around with complex temperatures, just simple, timed intervals.
| Ingredient | Science Role | Pro Secret |
|---|---|---|
| Peanut Butter | Primary Fat/Flavor | Use a brand with no added oil to avoid separation |
| Condensed Milk | Binder & Sweetener | Acts as a "cheat" to avoid boiling sugar |
| White Chocolate | Structure/Hardener | Provides the "snap" and creamy finish |
But what about the ingredients? You don't need a huge list, but the quality of what you use really changes the final result. Don't bother with low-fat versions here, as the fat is what gives the fudge its luxurious feel.
The Essential Ingredients
- 1 cup (250g) creamy peanut butter Why this? Provides the base flavor and essential fats.
- Substitute: Almond butter (gives a nuttier, more subtle taste)
- 1 can (14 oz / 397g) sweetened condensed milk Why this? Creates a smooth, condensed sugar structure.
- Substitute: Evaporated milk + sugar (Note: Result will be much softer)
- 1 cup (170g) white chocolate chips Why this? Adds stability and a velvety sweetness.
- Substitute: Chopped white baking chocolate (melt time may vary)
Chef's Tip: To prevent the chocolate from seizing, freeze your white chocolate chips for 10 mins before adding them to the bowl. This helps them melt more evenly without scorching.
Must Have Kitchen Gear
You don't need a professional studio for this, but a few specific tools make the process seamless.
- Glass Microwave Safe Bowl: Glass retains heat better than plastic, which helps the chocolate melt completely.
- Silicone Spatula: Essential for stirring vigorously to ensure a smooth emulsion.
- 8x8 Inch Baking Pan: The standard size for this yield.
- Parchment Paper: Non negotiable if you want to lift the fudge out without it sticking.
Step-by-step Melting Process
Let's crack on with the actual cooking. Remember, the goal is a glossy, lump free mixture.
Step 1: Prepare the Foundation
Line your 8x8 inch square baking pan with parchment paper or foil. Make sure to leave an inch of overhang on the sides so you can lift the fudge out later. Lightly grease the lining with cooking spray to ensure a clean release.
Step 2: The Mixing
Combine the 1 cup (250g) creamy peanut butter, 1 can (14 oz / 397g) sweetened condensed milk, and 1 cup (170g) white chocolate chips in your large glass bowl. Give it a quick stir just to get everything touching.
Step 3: The First Blast
Microwave on high for 1 minute. Remove the bowl and stir vigorously. You'll see some streaks of chocolate, but that's normal.
Step 4: The Interval Melt
Continue microwaving in 30 second intervals. Stir thoroughly between each blast. According to Serious Eats, controlling heat in short bursts prevents the sugar from burning.
Step 5: The Glossy Cue
Stop microwaving as soon as the mixture is smooth, glossy, and no lumps remain. Usually, this happens around the 2 minute mark. Wait until the mixture looks like molten silk.
Step 6: The Pour
Pour the molten mixture into your prepared pan. Use your spatula to smooth the top until it's perfectly level.
Step 7: The Chill
Place the pan in the refrigerator. Let it sit for at least 2 hours. Check that the center is firm to the touch before attempting to move it.
Step 8: The Final Cut
Lift the fudge out using the parchment overhang. Use a sharp knife to cut into 36 small squares.
Solving Common Fudge Issues
Even with a simple recipe, things can go sideways. Usually, it's a heat or ingredient issue.
Troubleshooting Common Issues
| Issue | Solution |
|---|---|
| Why Your Fudge Is Lumpy | This usually happens if you don't stir enough between microwave intervals. The chocolate chips might not have reached the melting point, or the mixture wasn't emulsified. |
| Why Your Fudge Won't Set | If the fudge stays soft, it's often because the white chocolate was substituted with a low cocoa butter alternative or it hasn't chilled long enough. |
| Why Your Fudge Separated | Oil pooling on top means the mixture was overheated. This breaks the emulsion between the peanut butter fats and the milk. |
Common Mistakes Checklist
- ✓ Stirring only once at the end (causes burnt spots)
- ✓ Using a plastic bowl (can warp or heat unevenly)
- ✓ Cutting the fudge before 2 hours (causes crumbling)
- ✓ Using "natural" peanut butter that separates (creates oil slicks)
Creative Flavor Twists
Once you've mastered the base, you can play with the flavors. For a salted caramel vibe, add a pinch of flaky sea salt on top immediately after pouring. If you want a bit of crunch, fold in 1/2 cup of crushed pretzels or toasted pecans after the melting phase.
For those who love a variety of sweets, this pairs beautifully with Muddy Buddies on a dessert platter. If you're looking for a total contrast, you could serve this after a savory meal like a 3 Ingredient Ravioli Bake.
Decision Shortcut
- If you want a saltier taste → Use extra crunchy peanut butter.
- If you want a firmer snap → Add an extra 1/4 cup of white chocolate chips.
- If you want a lighter color → Use a cashew butter base.
Storage and Leftovers
Keep your fudge in an airtight container. It stays fresh in the fridge for up to 10 days. If you're planning to keep it longer, the freezer is your best friend; it'll last for 3 months. Just let it thaw for 15 minutes before eating.
To avoid waste, if you have a bit of sweetened condensed milk left in the can, don't toss it. Stir it into your morning coffee for a creamy, sweetened treat. If you have a few fudge scraps left, chop them up and use them as a topping for vanilla ice cream.
Elegant Serving Ideas
To wow your guests, avoid serving these straight from the pan. Arrange the squares on a white ceramic platter, alternating them with fresh raspberries or strawberries. The acidity of the berries cuts through the richness of the peanut butter.
Another trick is to wrap individual squares in small squares of wax paper tied with a twine bow. It transforms a 5 minute microwave treat into a professional looking gift. Since this fudge is so rich, a small 1 inch square is usually plenty.
Serve it with a glass of cold milk or a bitter espresso to balance the sweetness.
Recipe FAQs
How long can I store this peanut butter fudge?
Keep it in the fridge for up to 10 days. For longer storage, freeze it in an airtight container for up to 3 months and thaw for 15 minutes before serving.
Why did my fudge not set properly?
It likely hasn't chilled long enough or the chocolate chips lacked cocoa butter. Ensure the pan stays in the refrigerator for at least 2 hours until the center is firm to the touch.
How to fix lumpy fudge during the melting process?
Stir vigorously between each microwave interval. If lumps persist, continue heating in 30-second bursts until the mixture is completely smooth and glossy.
Why is there oil pooling on top of my fudge?
The mixture was overheated. Excessive heat breaks the emulsion between the peanut butter fats and the other ingredients, causing the oil to separate.
How to melt the ingredients without burning them?
Microwave on high for 1 minute, then use 30-second intervals. Stirring between every session ensures even heat distribution and prevents scorching.
Is it true I need a candy thermometer to get the right consistency?
No, this is a common misconception. This specific recipe relies on the ratios of the three ingredients and proper chilling time rather than precise temperature stages.
Why is the fudge so glossy?
The emulsion of fats from the peanut butter and chocolate creates that sheen. If you enjoyed achieving this smooth texture here, see how we handle similar stability in our nougat candy.
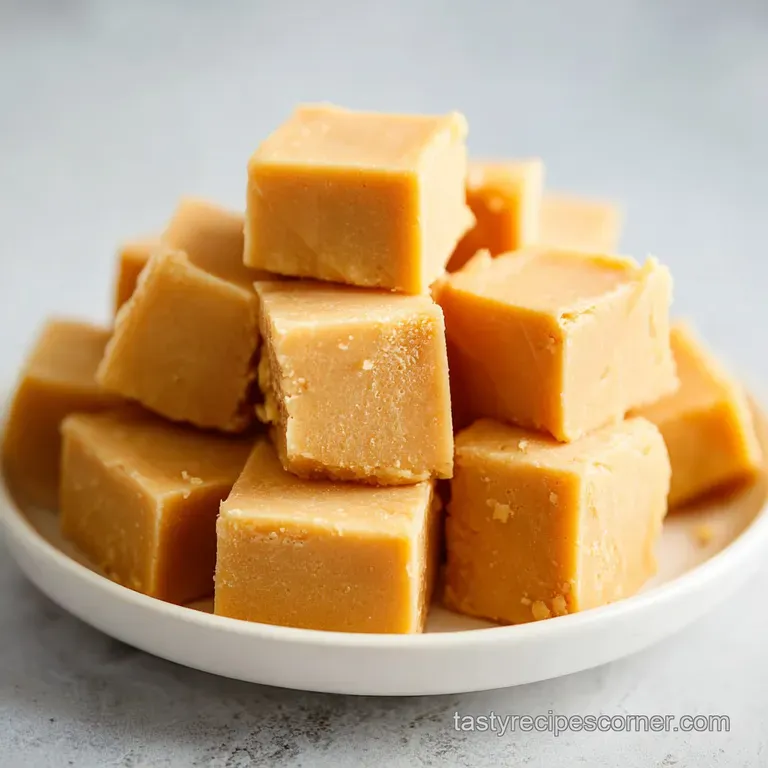
Microwave Peanut Butter Fudge