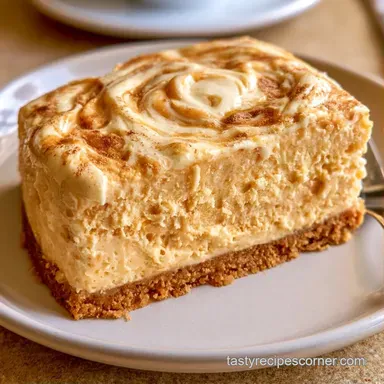
Princess Peach Ice Cream Cake with Pink Glaze
- Time: 45 min active + 6 hours chilling
- Flavor/Texture Hook: Buttery graham crust with a glossy fruit mirror glaze
- Perfect for: Themed birthdays, gaming parties, or summer celebrations
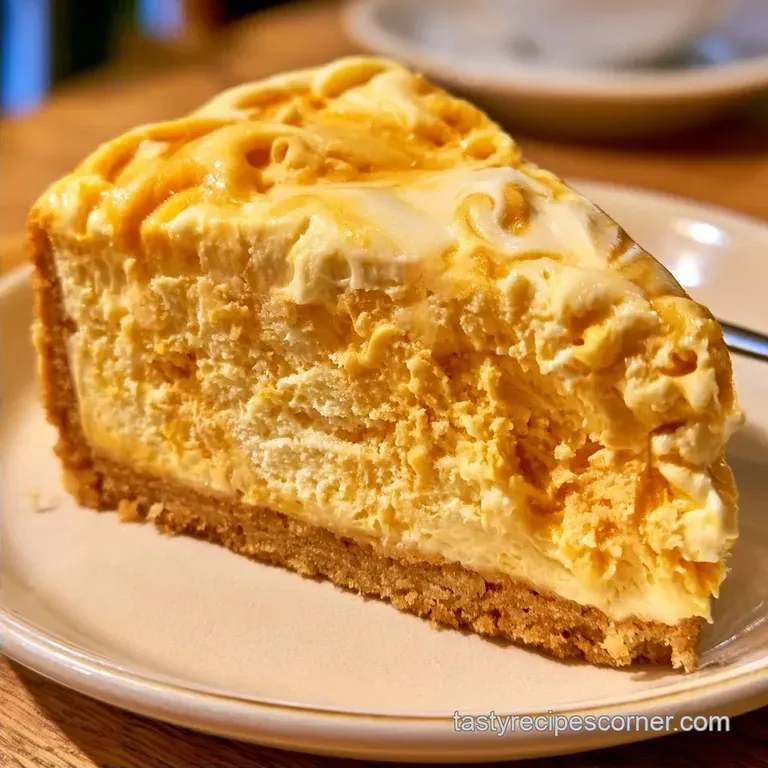
Picture a luminous, pink mirror glaze that catches every light in the room. Beneath that surface lies a vibrant, creamy peach interior perched atop a rich, golden crust. It carries the fragrance of a July orchard, balanced by a hint of vanilla to ensure it isn't overly sweet.
I originally attempted a themed treat for a friend's Mario marathon, only to watch it melt the moment it was served. I discovered that plain ice cream lacks the necessary stability on its own. By incorporating whipped cream, I created a more structured dessert that actually remains intact throughout the festivities.
You'll get a sophisticated result without needing professional pastry skills. The magic of this Princess Peach Ice Cream Cake lies in the interplay between the crisp base and the velvety, chilled center. It’s a guaranteed hit that appears far more complex than it is to make.
Why This Dessert Works
Stabilized Filling: Folding whipped cream into the ice cream creates a lighter, airier structure. This prevents the cake from turning into a puddle quickly. If you enjoy this kind of texture, my pistachio ice cream recipe uses similar freezing logic for a dense yet smooth result.
Gelatin Glaze: The peach preserves and gelatin create a set layer that doesn't soak into the ice cream. This keeps the top looking glass like rather than soggy.
| Method | Time | Texture | Best For |
|---|---|---|---|
| Classic Frozen | 6+ hours | Dense & Firm | Formal Slicing |
| Fast Chill | 3 hours | Soft & Scoopable | Casual Bowls |
What You'll Need
The graham cracker crust offers a salty balance to the sweet peaches. I suggest using butter with a higher fat content to ensure the base stays intact when you release the springform pan.
For the filling, choose a premium peach ice cream; because it has less "overrun" (air), the taste is much richer. The heavy cream creates a velvety consistency, while the fresh peaches provide a bright, acidic pop.
Ingredients List
- 1.5 cups (180g) graham cracker crumbsWhy this? Creates a firm, buttery foundation
- 6 tbsp (85g) unsalted butter, meltedWhy this? Holds the crumbs together
- 2 tbsp (25g) granulated sugarWhy this? Adds a touch of sweetness to the base
- 1 quart (946ml) premium peach ice cream, softened slightlyWhy this? Provides the core flavor and structure
- 1 cup (240ml) heavy whipping cream, coldWhy this? Helps the ice cream hold its shape
- 0.5 cup (60g) powdered sugarWhy this? Sweetens the whipped cream
- 1 tsp (5ml) vanilla extractWhy this? Enhances the overall peach profile
- 1 cup (140g) fresh peaches, finely dicedWhy this? Introduces chunks of real fruit
- 0.5 cup (120ml) peach preservesWhy this? Forms the base of the glossy glaze
- 2 tbsp (30ml) waterWhy this? Adjusts the glaze consistency for pouring
- 1 tsp (5g) powdered gelatinWhy this? Gives the glaze its mirrored look
| Original Ingredient | Substitute | Why It Works |
|---|---|---|
| Graham Crackers | Digestive Biscuits | Comparable texture. Note: A bit saltier |
| Peach Ice Cream | Mango Ice Cream | Aligned color and richness. Note: Shifts the flavor |
| Powdered Gelatin | Agar Agar | Vegan setting alternative. Note: Requires more heat to activate |
Essential Kitchen Tools
You'll need a 9 inch springform pan. This is non negotiable because you cannot flip an ice cream cake. The sides must come off to reveal the layers.
A rubber spatula is a must for folding. If you use a whisk, you'll knock the air out of the whipped cream, and the cake will be too dense. An offset spatula helps you get that perfectly flat top, which is where the glaze sits.
Step-by-step Assembly
Phase 1: Building the Foundation
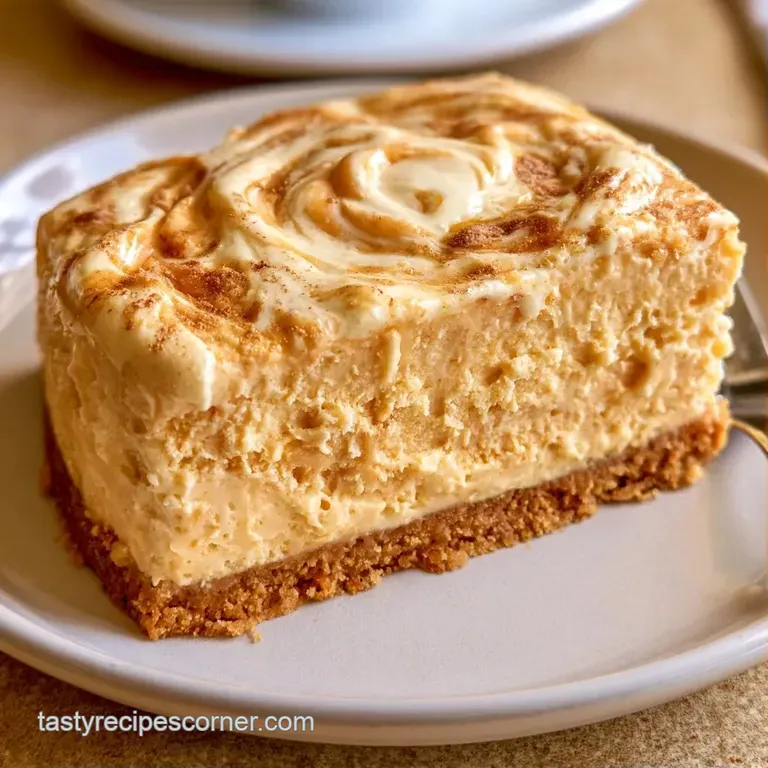
- Stir together the graham cracker crumbs, melted butter, and sugar. Mix until the mixture resembles wet sand.
- Use the back of a spoon to pack the crumbs into a 9 inch springform pan.
- Chill the crust in the freezer for 15 minutes to set the shape.
Phase 2: Creating the Filling
- In a cold bowl, beat the heavy cream, powdered sugar, and vanilla extract until stiff peaks form.
- Using a rubber spatula, gently fold the softened peach ice cream into the cream. Stop as soon as the color is consistent. Note: Over mixing will melt the ice cream.
- Fold in the diced peaches to add texture.
- Spread the filling evenly over the chilled crust, smoothing the surface with an offset spatula.
- Freeze for at least 4 hours, or until the cake feels firm.
Phase 3: The Crown Jewel Finish
- Warm the peach preserves and water in a saucepan over medium heat until simmering.
- Stir in the gelatin and whisk until the liquid is translucent and no grains remain.
- Let the glaze cool for 5-10 minutes.
- Pour the glaze over the frozen cake, tilting the pan to ensure the edges are completely coated.
Handling Common Glitches
If your filling feels too runny, you've likely let the ice cream soften too much. It should be the consistency of soft serve, not melted milk. If it's too soft, the whipped cream will deflate, and you'll lose that royal height.
Another common issue is a cloudy glaze. This happens when the gelatin isn't fully dissolved or the preserves are too chunky. Straining the glaze through a fine mesh sieve before pouring fixes this instantly.
Fixing a Runny Filling
If the mixture doesn't hold a peak, pop the bowl in the freezer for 10 minutes, then fold again.
Clearing a Cloudy Glaze
Strain the hot mixture to remove fruit solids before adding it to the cake.
| Problem | Root Cause | Solution |
|---|---|---|
| Crust Crumbles | Not enough butter or poorly pressed | Press harder with a flat bottomed glass |
| Glaze Slides Off | Glaze was too hot when poured | Cool glaze to room temperature before pouring |
| Filling Grained | Ice cream froze and thawed repeatedly | Use premium ice cream and fold quickly |
Customizing Your Cake
If you want a more intense fruit flavor, you can swap the graham crackers for crushed vanilla wafers. For a "Power Up" crunch, sprinkle some toasted almonds or crushed pistachios between the crust and the filling.
For those who want a different vibe, you could try a strawberry peach duo by layering half strawberry ice cream and half peach. If you're planning a full spread party, these cream cheese sugar cookies make great side kicks for a dessert table.
| Goal | What to change |
|---|---|
| More Tartness | Add 1 tbsp lemon juice to the filling |
| Nutty Base | Use almond flour crumbs instead of graham |
| Lighter Topping | Use a fresh peach slice arrangement instead of glaze |
Freezing and Reheating Guide
Keep your Princess Peach Ice Cream Cake in the freezer for the best results. Seal the springform pan with plastic wrap or move the cake into a cake carrier. It remains fresh for up to 2 months, though the crust may lose some of its crunch after the first month.
Avoid reheating this cake. Instead, leave it at room temperature for 5-10 minutes before serving. This prevents the cake from cracking and makes it much easier to slice.
To avoid waste, save the peach peels from your diced fruit. Store them in a freezer bag along with some lemon juice and sugar to whip up a quick peach syrup for pancakes later.
Best Pairing Ideas
Serve a piece of Princess Peach Ice Cream Cake with a few fresh raspberries to balance the richness. A sprig of mint adds a touch of green that complements the Mario theme and tastes refreshing.
Since this is a decadent treat, pair it with something light. A chilled glass of Prosecco or sparkling water with a lime wedge helps offset the sweetness. If you're serving children, a small side of fresh berries keeps the presentation colorful and balanced.
Now your royal dessert is ready for the table. To achieve those sharp, professional edges that will impress your guests, simply wipe your knife with a warm cloth between each slice.
Recipe FAQs
How to make the peach glaze translucent?
Whisk the gelatin into the simmering peach preserves and water until completely dissolved. This ensures the glaze is clear and smooth rather than cloudy.
Is it true the cake requires a full day to set?
This one's false: It only needs at least 4 hours in the freezer to become firm to the touch. Most home cooks find this window sufficient for a clean slice.
Why use fresh diced peaches in the filling?
Fresh peaches provide a distinct texture and bright flavor that balances the rich ice cream. If you enjoyed the textural contrast here, the same balance of chew and sweetness is used in our sugar cookie bars.
What prevents the graham cracker crust from falling apart?
Freeze the crust for 15 minutes after pressing it into the pan. This locks the shape in place before you add the heavy filling.
Which pan works best for assembly?
Use a 9 inch springform pan to ensure you can remove the sides without damaging the cake. This is the only way to get a professional edge on a frozen dessert.
Does the peach ice cream need to be fully liquid?
Actually, no. It should be softened slightly so it can be folded into the whipped cream without creating large frozen clumps.
Could you substitute the heavy cream for a lighter option?
Not true. You need the fat content of heavy whipping cream to achieve the stiff peaks necessary to support the ice cream and fruit.
When to apply the final peach glaze?
Pour the cooled glaze over the cake after it has frozen for at least 4 hours. Tilting the pan ensures the edges are fully covered for a uniform look.
Princess Peach Ice Cream Cake