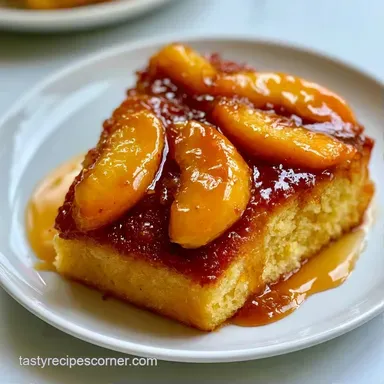
Old Fashioned Caramel Peach Upside Down Cake
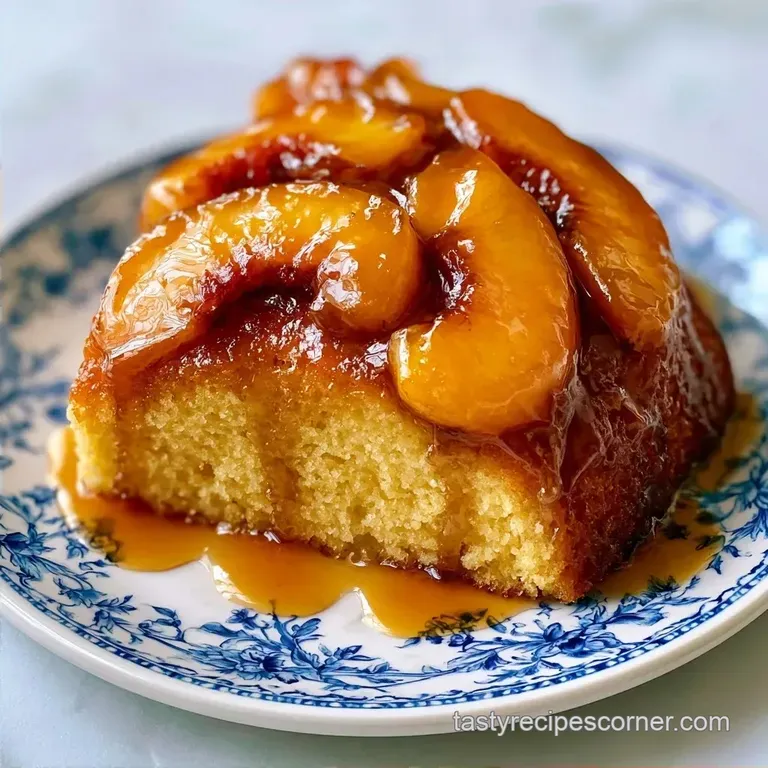
- Time: 20 min active + 40 min baking
- Flavor/Texture Hook: Jammy peaches with a tender, buttery crumb
- Perfect for: Summer dinner parties or a fancy Sunday brunch
There is nothing quite like the aroma of warm vanilla and bubbling brown sugar filling the kitchen it's the essence of summer in a pan. My first attempt used peaches that were far too ripe, resulting in a fruity soup.
That experience taught me that proper fruit arrangement and a solid moisture barrier are essential.
Achieving a professional bakery aesthetic doesn't require a high end kitchen. The key is precise fruit placement and a bit of confidence during the flip. It is a high impact dessert that looks incredibly sophisticated but takes only about an hour from start to finish.
This Peach Upside Down Cake delivers a deep, caramelized glaze and a sturdy sponge that holds its shape. It’s a refined way to showcase a garden peach harvest without spending the entire day in the kitchen.
Why the Caramel Works
- The Sugar Barrier: A thick layer of brown sugar and butter prevents the peach juices from soaking directly into the batter. This creates a syrup that glazes the fruit instead of making the cake mushy.
- Sour Cream Addition: Adding sour cream provides acidity that breaks down gluten. This keeps the crumb tender and prevents the cake from becoming tough or bread like.
The Ingredient Deep Dive
| Ingredient | Function | Alternative |
|---|---|---|
| Brown Sugar | Provides the caramel glaze | Coconut sugar (though it's grainier) |
| Sour Cream | Ensures moisture and a tender crumb | Full fat Greek yogurt |
| Fresh Peaches | The primary flavor and structure | Canned peaches (drain thoroughly) |
| Baking Powder | Helps the thick batter rise | 1/4 tsp baking soda plus 1/2 tsp cream of tartar |
Recipe Specs
Right then, here is the fast version versus the old school method. Most traditional cakes require you to make the caramel in a separate pot on the stove, which is a burn risk and a pain to clean. This version puts everything in the pan.
| Feature | This Method | Classic Method |
|---|---|---|
| Caramel Prep | In pan melt | Stovetop reduction |
| Effort Level | Low | Moderate |
| Texture | Jammy and soft | Harder, candy like glaze |
One thing to keep in mind: the flip is the most nerve wracking part. To ensure it works, let the cake sit for exactly 10 minutes after it comes out of the oven. Too soon and the caramel is too liquid; too long and it sticks to the pan.
Tools You'll Need
A 9 inch round cake pan works fine, but I prefer a cast iron skillet for its even heat distribution and attractive presentation. If you go with a skillet, simply ensure it is oven safe.
I generally use a KitchenAid or similar stand mixer for creaming, though a handheld mixer is a suitable alternative. You'll also want a spatula to smooth out the batter and a wire rack to let the pan cool for a bit.
How to Bake It
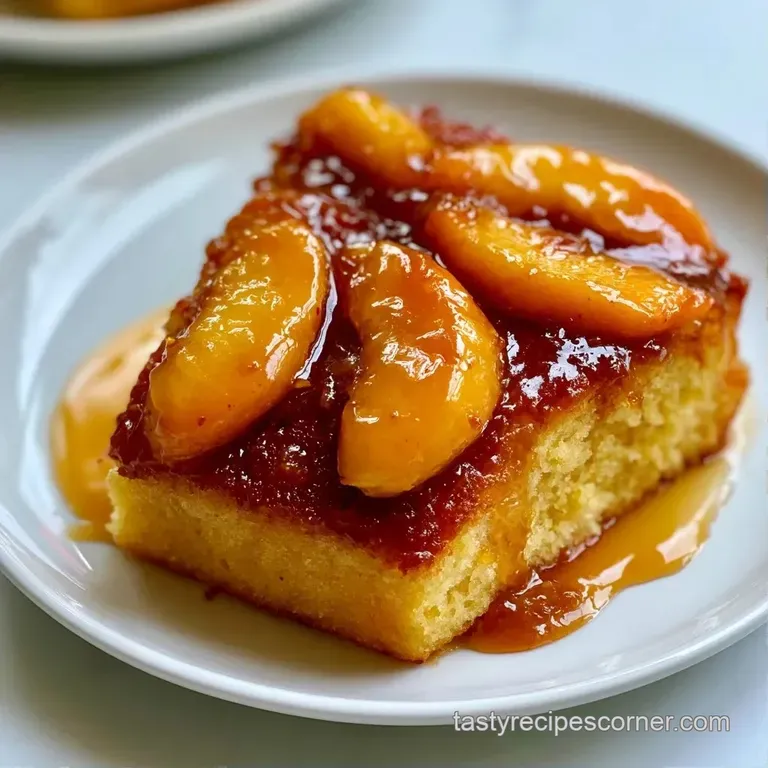
Setting the Caramel Base
Set your oven to 350°F (175°C). Coat the bottom of a 9 inch round pan or skillet with 115g of melted unsalted butter, tilting the pan to ensure full coverage. Evenly distribute 150g of light brown sugar over the butter and smooth it out with a spoon.
Arranging the Peaches
Cut 680g of peeled peaches into 1/2 inch thick wedges. Lay them in concentric circles atop the sugar, pressing down lightly. Drizzle 5ml of vanilla extract over the fruit.
Preparing the Cake Batter
Using a large bowl, beat 115g of softened butter and 200g of granulated sugar until the mixture is pale and fluffy. Incorporate 2 eggs, adding them one at a time. Mix in 120ml of sour cream and another 5ml of vanilla extract.
Incorporating Dry Ingredients
Sift together 190g of all purpose flour, 10g of baking powder, and 3g of salt. Carefully fold these into the wet mixture. Stop mixing the moment the flour streaks disappear. Note: Overmixing creates a tough cake.
Baking the Cake
Pour the batter evenly over the peaches. Bake for 35-40 minutes until the edges pull away from the pan and a toothpick comes out clean.
Inverting the Dish
Allow the pan to cool for 10 minutes. Loosen the edges with a knife. Place a plate over the top and flip the cake in one swift motion.
Chef's Tip: To prevent the peaches from sliding, you can lightly dust the peach slices with a pinch of cornstarch before arranging them.
Fixing Common Problems
When the fruit is too juicy, the cake can struggle to set. This usually happens with very ripe summer peaches. I've found that patting the slices dry with a paper towel before putting them in the pan solves this.
Another issue is the "stuck cake" syndrome. This happens if you wait too long to flip. The caramel cools and acts like glue. If it doesn't slide out, put the pan back in the oven for 2 minutes to loosen the sugar.
Preventing a Soggy Bottom
The moisture from the fruit often migrates downward. Using the brown sugar barrier helps, but the sour cream in the batter also provides a denser structure that resists soaking up too much liquid.
Stopping the Cake from Sticking
Ensure your pan is properly greased. While the butter/sugar mix does most of the work, a quick swipe of butter on the sides of the pan ensures a clean release.
Fixing Over Browned Edges
If the edges are darkening but the center is wobbly, tent the pan with foil for the last 10 minutes.
| Problem | Root Cause | Solution |
|---|---|---|
| Gummy layer | Too much fruit juice | Pat peaches dry first |
| Cake stuck in pan | Cooled too much | Reheat pan for 2 mins |
| Dense crumb | Overmixing the flour | Fold gently by hand |
Storage and Scraps
Store the cake in a glass dish in the refrigerator for no more than 4 days. Due to the sour cream and fruit, it has a shorter shelf life at room temperature than a basic sponge. For reheating, microwave a slice for 15 seconds.
To freeze, wrap individual pieces in parchment paper and foil; they will keep for 2 months. Let them thaw in the fridge overnight.
Save those peach skins! Simmer them with some water and sugar to make an easy peach syrup for pancakes. Any remaining batter can be baked in a muffin tin for 15-20 minutes as a fast snack.
Serving the Cake
Because this cake is so indulgent, pairing it with something tart helps balance the sweetness. Classic options include a dollop of unsalted whipped cream or a serving of vanilla bean ice cream.
For a contemporary twist, consider a drizzle of crème fraîche or a few fresh thyme leaves. The thyme's earthy notes complement the caramelized peaches beautifully.
When presenting this at a brunch, accompany it with fresh berries for an added burst of color and acidity. While it shares similarities with a Fresh Peach Cobbler, its cake like form transforms it into a true centerpiece.
Fun Variations
- Canned Peaches: Use them if it's winter, but drain them for 30 minutes in a colander. They are sweeter and softer, so reduce the brown sugar by 2 tablespoons.
- Frozen Peaches: Thaw them completely and pat them dry. Frozen fruit releases more water, so you might need to add 1 extra tablespoon of flour to the batter.
- Cake Mix Base: If you're in a rush, you can use a yellow cake mix. Just follow the mix instructions but stir in 2 tablespoons of sour cream for better texture.
- Spice it up: Add 1 tsp of cinnamon to the brown sugar layer for a warmer, autumn flavor.
If you love this kind of fruit forward dessert, you might also like my Homemade Peach Pie, which uses a different crust but the same juicy peach focus.
Decision Shortcut
- Extra tang? → fold in 1 tsp lemon zest
- Nutty crunch? → sprinkle sliced almonds on batter
- Deeper flavor? → swap light brown sugar for dark brown sugar
Quick Tips for Success
- Room Temp Eggs: Cold eggs can curdle the creamed butter. Set them out 30 minutes before starting.
- Peach Ripeness: Use peaches that are fragrant but still slightly firm. Mushy peaches will dissolve into the cake.
- Flour Measurement: According to King Arthur Baking, weighing flour is much more accurate than using cups, which can pack too much flour and lead to a dry cake.
Right then, that's it. The Peach Upside Down Cake is all about that contrast between the jammy top and the soft base. Just remember to be brave with the flip, and you're golden.
Recipe FAQs
Can I use frozen peaches?
You can use frozen slices if you thaw and drain them first.
Tip: Pat them dry with a paper towel to prevent the caramel from becoming watery.
How to remove the cake from the pan without sticking?
Invert the cake onto a serving plate immediately after removing it from the oven.
Tip: Let it sit for only 5 minutes so the sugar glaze doesn't harden and stick.
Is it true the peaches will sink to the bottom of the batter?
Surprisingly, no. The butter and brown sugar base supports the fruit wedges.
Tip: Press the peaches firmly into the sugar to lock them in place.
Where should I store the leftovers?
Store slices in a glass container in the refrigerator for 4 days.
Tip: Microwave a slice for 15 seconds to restore the softness.
Why did the cake turn out too dense?
Overmixing the batter after adding flour creates too much gluten.
Tip: Fold the dry ingredients in gently until just combined.
What other peach treats can I make?
Try a southern cobbler for a more rustic texture.
Tip: Use the same peach slicing technique from this cake for consistent results.
Peach Upside Down Cake