Homemade Protein Bars: Chewy and Nutritious

- Time:10 minutes active + 30 minutes chilling = Total 40 minutes
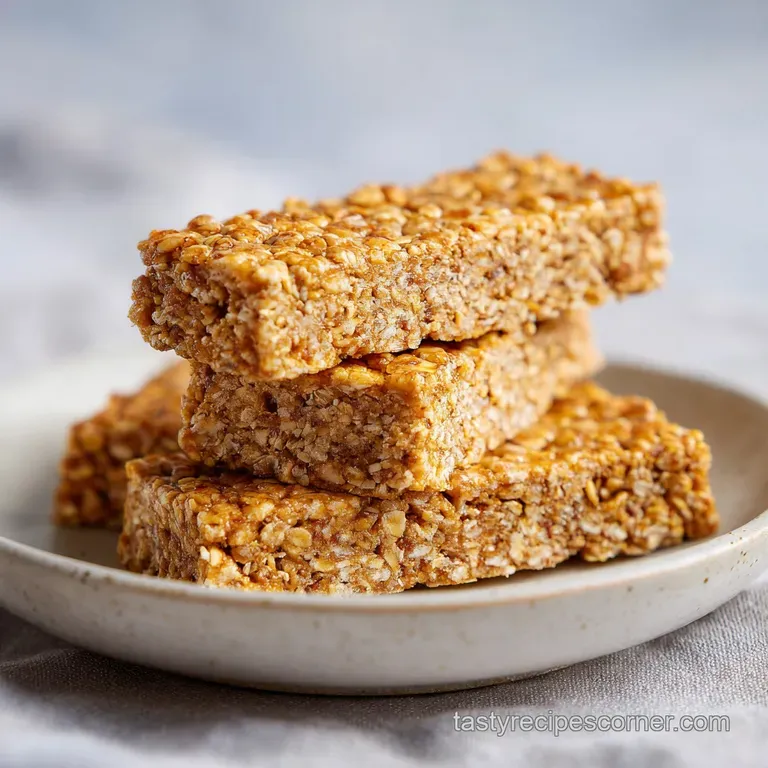
- Flavor/Texture Hook: Dense, chewy, and velvety with a snap of dark chocolate
- Perfect for: Busy work mornings, gym bags, or high energy kids' lunches
- Get the Texture Right with this Protein Bars Recipe
- The Secret to Bars That Actually Stay Together
- Fast Facts and Timing for Your Snack
- Quality Elements for a Better Chew
- A Few Basics to Get the Job Done
- Simple Steps from Mixing to Slicing
- Fixing Crumbly or Sticky Textures
- Making This Work for Different Diets
- Keeping Your Snacks Fresh and Waste Free
- Best Ways to Pack and Enjoy
- Recipe FAQs
- 📝 Recipe Card
Get the Texture Right with this Protein Bars Recipe
That heavy thwack of the mixture hitting the parchment paper is the sound of victory. You know the feeling, right? You try a "healthy" snack recipe, and instead of a sturdy bar, you end up with something that looks like a granola explosion in your hand.
I've spent way too much time cleaning oat crumbs out of my car seats because my previous attempts were basically just expensive birdseed held together by hope.
The real struggle with most home-made versions is the "crumb factor." Either they're so dry they shatter when you bite into them, or they're so sticky they act like glue for your teeth. I wanted something that felt substantial, stayed put in a backpack, and didn't taste like a chemistry experiment.
This version is the targeted fix for all those issues. We're using a specific ratio of binders to dry ingredients that creates a dense, fudge like consistency without needing a stove.
It's a straightforward process that fits into a packed corporate schedule, giving you a nutritious grab and-go option that actually tastes like a treat.
The Secret to Bars That Actually Stay Together
I used to think I just wasn't pressing the bars hard enough, but it's actually about how the ingredients interact. When you mix honey and almond butter, you're creating a thick, viscous syrup that wraps around every single oat flake.
Binder Saturation: The honey and almond butter create a sticky matrix that locks the dry ingredients in place.
Moisture Absorption: Rolled oats and protein powder act like sponges, soaking up the liquid binders so the bars don't leak.
Structural Support: Chia seeds add tiny points of friction, helping the mixture hold its shape better once chilled.
Temperature Setting: Chilling the bars firms up the fats in the almond butter, turning a soft paste into a solid, sliceable block.
Fast Facts and Timing for Your Snack
Since we're dealing with a no bake method, the "cooking" part is really just a waiting game in the fridge. You don't have to worry about oven temperatures or burnt edges, which makes this a breeze for anyone who doesn't want to scrub baking sheets on a Tuesday night.
| Servings | Ingredient Adjustments | Pan Size | Chill Time |
|---|---|---|---|
| 8 bars | Standard (as listed) | 8x8 inch | 30 minutes |
| 16 bars | Double all ingredients | 9x13 inch | 45 minutes |
| 4 bars | Half all ingredients | 4x8 inch | 20 minutes |
It's worth noting that while these are fast, skipping the chill time is a recipe for disaster. If you try to slice them immediately, you'll just have a very thick, very sticky paste. Trust the process and let the fridge do the heavy lifting.
Quality Elements for a Better Chew
The choice of protein powder can really change the vibe of this recipe. I prefer vanilla because it blends seamlessly with the honey, but the key is using a powder that mixes well without clumping. If you're looking for other quick snacks, you might like these Homemade Granola Bars for a different kind of chew.
Component Analysis
| Ingredient | Science Role | Pro Secret |
|---|---|---|
| Almond Butter | Primary Binder | Use "drippy" natural butter for easier mixing |
| Honey | Humectant & Glue | Warm it for 10 seconds if it's too stiff |
| Rolled Oats | Bulk & Texture | Don't blend them, or the bars become mushy |
| Chia Seeds | Stabilizer | They prevent the bars from feeling too greasy |
The Full Ingredient List
- 2 cups (180g) rolled oats Why this? Provides the essential chew and structure
- 1/2 cup (60g) vanilla protein powder Why this? Boosts nutrition and adds subtle sweetness
- 1/4 tsp (1.5g) fine sea salt Why this? Cuts through the richness of the nut butter
- 1/2 cup (125g) almond butter Why this? Creates the creamy, velvety base
- 1/3 cup (110g) honey Why this? The main "glue" that keeps everything together
- 1 tsp (5ml) vanilla extract Why this? Adds depth to the vanilla powder
- 1/4 cup (40g) dark chocolate chips Why this? Adds a bit of shatter and richness
- 2 tbsp (15g) chia seeds Why this? Adds omega-3s and helps with binding
Smart Ingredient Swaps
| Original Ingredient | Substitute | Why It Works |
|---|---|---|
| Almond Butter | Peanut Butter | Similar fat profile. Note: Stronger flavor, less subtle |
| Honey | Maple Syrup | Liquid sweetener. Note: Slightly less sticky, may need more chill time |
| Vanilla Protein | Chocolate Protein | Same function. Note: Makes it a double chocolate bar |
| Rolled Oats | gluten-free Oats | Identical texture. Note: Essential for Celiac needs |
A Few Basics to Get the Job Done
You don't need a fancy kitchen setup for this. Honestly, if you have a bowl and a spoon, you're 90% of the way there. I've tried using a food processor to speed things up, but it often over processes the oats, and you lose that satisfying texture.
The only "must have" is the parchment paper. If you grease the pan with oil or butter, the bars might slide around, and the release isn't as clean. The parchment allows you to just lift the whole block out like a cake.
A sturdy spatula is also helpful for the pressing stage, as you really need to compact the mixture to avoid air pockets.
Simple Steps from Mixing to Slicing
Right then, let's get into the actual build. The goal here is a dense, uniform paste. If the mixture feels too dry to hold together, you can add a teaspoon of water or more honey, but usually, the schema measurements are spot on.
- Combine the rolled oats, protein powder, and salt in a large mixing bowl. Note: Whisking these first prevents protein powder clumps
- Stir in the almond butter, honey, and vanilla extract. Mix firmly with a spatula until a dense paste forms and no dry powder remains.
- Fold in the dark chocolate chips and chia seeds until evenly distributed.
- Line an 8x8 inch square baking pan with parchment paper, leaving an overhang on the sides.
- Transfer the mixture to the pan and press down firmly with the back of a spoon until the surface is flat and compacted. Press for at least 60 seconds to ensure there are no gaps.
- Place the pan in the fridge for 30 minutes to set.
- Lift the parchment paper out of the pan and slice the block into 8 equal rectangles using a sharp knife.
Chef's Tip: To get those clean, professional looking edges, dip your knife in hot water and wipe it dry between each cut. It prevents the honey from dragging and tearing the bars.
Fixing Crumbly or Sticky Textures
Even with the best plan, sometimes the humidity in your kitchen or the brand of nut butter you use can throw things off. Most issues are solved by adjusting the "wet to dry" ratio or the temperature.
Why Your Bars Are Crumbly
If your bars fall apart the moment you touch them, it's usually because the binder didn't fully saturate the oats. This happens if the protein powder is particularly absorbent or if you didn't press them firmly enough into the pan.
Why Your Bars Are Too Sticky
Too much honey or a very warm kitchen can leave you with bars that feel like taffy. This is often a patience issue - they just haven't chilled long enough for the almond butter to solidify.
| Problem | Root Cause | Solution |
|---|---|---|
| Crumbly edges | Not enough binder or low pressure | Add 1 tbsp honey; press harder |
| Gooey center | Insufficient chilling time | Chill for another 15-20 minutes |
| Dry texture | Too much protein powder | Stir in 1 tbsp almond butter |
Common Mistakes Checklist
- ✓ Pat your measuring cup with a bit of oil before scooping almond butter to avoid waste.
- ✓ Ensure the protein powder is sifted or stirred well to avoid "chalky pockets."
- ✓ Press the mixture until it feels like a solid brick, not a loose cake.
- ✓ Use a sharp, non serrated knife for the cleanest slices.
- ✓ Leave the parchment overhang to make lifting the block effortless.
Making This Work for Different Diets
One of the best things about a protein bars recipe is how flexible it is. You can tweak the ingredients to fit your macros or dietary restrictions without ruining the structural integrity of the bar.
If you want to make these low calorie protein bars, you can swap the honey for a sugar-free maple syrup, though you might notice the bars are slightly softer. For a high protein bar recipe with oats only, you can increase the protein powder by 1/4 cup and reduce the oats slightly, but be careful - too much powder can make them taste like cardboard.
For those going vegan, just use a maple syrup instead of honey and ensure your protein powder is plant based (pea or soy works great). If you're pairing these with a healthy lunch, they go great alongside a slice of homemade sandwich bread and some fresh fruit.
Quick Customization Guide
- For more crunch: Add 2 tbsp of crushed walnuts or slivered almonds.
- For a tart twist: Swap chocolate chips for dried cranberries or goji berries.
- For extra protein: Add a tablespoon of hemp hearts along with the chia seeds.
Keeping Your Snacks Fresh and Waste Free
Since these don't have preservatives, they need a bit of care to stay fresh. Because of the honey and nut butter, they stay moist for a long time, but the texture changes based on where you store them.
Storage Guidelines: Store these in an airtight container in the fridge for up to 1 week. If you're making a double batch, they freeze beautifully for up to 3 months.
I recommend wrapping each bar individually in parchment paper before putting them in a freezer bag; this stops them from fusing into one giant protein brick.
Zero Waste Tips: If you have a bit of mixture left in the bowl that's too small to form a bar, don't toss it! Roll it into a small "energy ball" for a quick bite. If you have leftover almond butter jars that are almost empty, pour a bit of the honey into the jar and shake it up to get every last bit of fat into your recipe.
Best Ways to Pack and Enjoy
These bars are designed for efficiency. They're the perfect corporate wellness snack because they don't smell strong and aren't messy to eat during a quick break between meetings.
For the best experience, eat them chilled. The cold temperature keeps the chocolate chips snappy and the base velvety. If you prefer a softer, more "cookie like" texture, let a bar sit at room temperature for about 10 minutes before eating.
Method Comparison: No Bake vs. Baked
| Feature | No Bake (This Recipe) | Traditional Baked Bars |
|---|---|---|
| Prep Time | Very Fast (10 min) | Slower (Prep + Bake) |
| Texture | Fudgy and Dense | Cakey or Crispy |
| Nutrition | Preserves Raw Nut Fats | Some nutrients lost to heat |
| Effort | Minimal Tools | Requires Oven & Cooling |
Trust me on this, once you get used to the no bake style, you'll rarely go back to the oven for your daily protein fix. It's just too convenient.
Recipe FAQs
How do I make my own protein bars?
Combine rolled oats, protein powder, and salt, then stir in almond butter, honey, and vanilla. Mix until a dense paste forms, fold in chocolate chips and chia seeds, press firmly into a lined pan, and refrigerate for 30 minutes.
What are the snack bars for CKD patients?
Consult your doctor first. Ingredients like protein powder and salt must be carefully monitored based on your specific stage of kidney disease.
Which protein bar is best for diabetics?
Focus on bars with low glycemic indices. Because this recipe uses honey, you should monitor your glucose levels or consult a healthcare provider to ensure it fits your plan.
Are protein bars good for surgery recovery?
Yes, they provide a concentrated source of protein. They are excellent for tissue repair and maintaining energy when your appetite is low after a procedure.
Why are my bars too crumbly?
The mixture wasn't pressed down firmly enough. Use the back of a spoon to compact the paste into a solid brick before chilling to ensure they hold together.
Is it true these bars can be stored at room temperature?
No, this is a common misconception. These must stay in the fridge to maintain their structure. If you enjoy the simple assembly of no-bake treats, try making muddy buddies for a different kind of snack.
How do I get clean slices?
Use a sharp, non-serrated knife. Lift the block out using the parchment paper overhang and slice firmly into eight equal rectangles.
Homemade Protein Bars Recipe

