Grilled Cheese Rollups: Crispy and Cheesy
- Time: 10 min active + 5 min cook
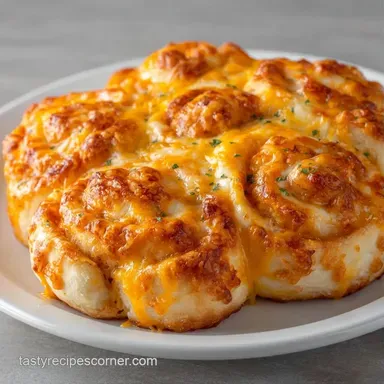
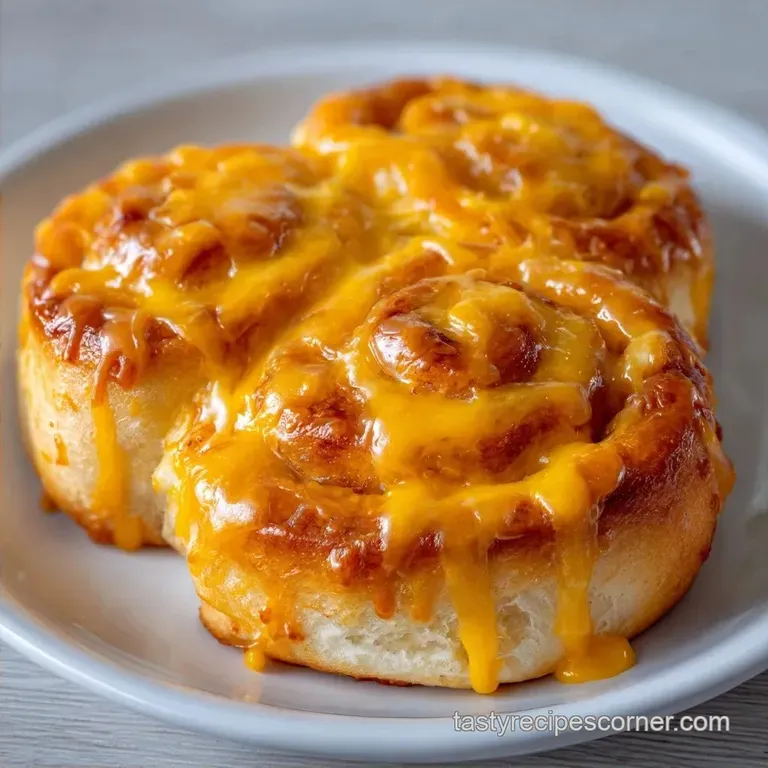
- Flavor/Texture Hook: Mahogany brown crust with molten, gooey cheddar
- Perfect for: After school snacks or a cozy movie night
The Best Grilled Cheese Rollups
The sound of butter bubbling in a hot cast iron skillet is the best part of my afternoon. I remember the first time I tried making these for my kids, and it was a total disaster. The bread tore right down the middle, and the cheese leaked out, creating a burnt orange puddle on my stove.
I realized I was treating the bread like a wrap instead of prepping it for the roll.
The fix was simple. You have to flatten that bread until it's almost a sheet. Once I did that, these Grilled Cheese Rollups became a staple in my Tennessee kitchen. They're comforting, filling, and have a satisfying snap when you bite into them.
This recipe is all about the contrast. You get that hard, buttery exterior and a soft, molten center. It's a soul warming snack that feels like a hug on a plate, but it comes together in a flash.
What Makes These Rollups Work
Flattened Bread: Rolling the bread thin removes the air pockets and makes it pliable, which stops the bread from splitting.
Seam Down Searing: Frying the roll on the seam first acts like a weld, locking the cheese inside before you brown the other sides.
I've heard some folks say you need a rolling pin to get the bread thin enough, but a heavy water glass works just as well. Another common misconception is that you need a specific "wrap" bread. Standard white bread actually holds the shape better because it's softer.
The Recipe Specs
Before we get started, let's look at the different ways you can handle these. Depending on your gear, the texture changes slightly.
| Method | Time | Texture | Best For |
|---|---|---|---|
| Skillet | 5 mins | Mahogany crust | Maximum flavor |
| Air Fryer | 6 mins | Evenly crisp | Hands off cooking |
| Oven | 10 mins | Toasted | Large batches |
What Each Ingredient Does
| Ingredient | What It Does | Best Swap |
|---|---|---|
| White Bread | Provides the structure | Sourdough (needs more flattening) |
| Cheddar Cheese | Adds salt and melt | Monterey Jack (meltier, milder) |
| Unsalted Butter | Creates the golden crust | Salted butter (reduce extra salt) |
Ingredients and Smart Swaps
- 8 slices (200g) white bread, crusts removed Why this? Soft crumb rolls without cracking.
- 8 slices (160g) Cheddar cheese Why this? Bold flavor and great melt.
- 4 tbsp (57g) unsalted butter, melted Why this? Ensures every inch gets brown.
If you're out of white bread, you can use a Cheese Roll Up Tortilla for a thinner, more flexible wrap. For the cheese, a sharp cheddar gives the best bite, but if you want something a bit more luxurious, a blend of Gruyère and Cheddar is a winner.
The Tools You Need

You don't need much for this. A standard non stick skillet or a cast iron pan is a must. I also recommend a rolling pin or a smooth bottle to flatten the bread. A small pastry brush helps get the butter into every nook and cranny, but a spoon works in a pinch.
Cooking step by step
Phase 1: Preparing the Bread Base
- Trim the crusts off all 8 slices of bread. Note: This allows the edges to seal.
- Place one slice on your counter and roll it firmly with a pin until it is 1/4 inch thick.
Phase 2: Filling and Rolling
- Lay a slice of cheese on the bread, leaving a 1/4 inch border around the edges. Note: This prevents the cheese from oozing out immediately.
- Roll the bread into a tight cylinder.
- Pinch the seam firmly to lock the cheese inside.
Phase 3: The Searing Process
- Brush the outside of each roll liberally with melted butter.
- Heat your skillet over medium heat.
- Place rolls seam side down and fry 1-2 minutes per side until mahogany colored and the cheese is molten.
Chef's Note: If you want a deeper flavor, add a pinch of garlic powder to your melted butter before brushing. It gives the crust a savory, toasted aroma that's hard to beat.
Fixing Common Rollup Problems
If your bread is tearing, you probably didn't flatten it enough. The bread needs to be thin and flexible to handle the curve of the roll.
If the Bread Tears
When the bread splits, the cheese escapes and burns. This usually happens with crustier breads. Try using a slightly warmer slice of bread to make it more pliable.
If the Cheese Leaks
Leaks happen when the cheese is too wide for the bread. Always leave that small border around the edge to give yourself a safety zone.
If the Outside Burns
If the bread browns too fast but the cheese is still cold, your heat is too high. Drop the flame to medium low and give them another minute.
| Problem | Root Cause | Solution |
|---|---|---|
| Bread splitting | Not flattened enough | Use more pressure with the rolling pin |
| Burnt exterior | Pan too hot | Lower heat to medium low |
| Cheese not melted | Pan too cold/thick cheese | Cover pan with a lid for 60 seconds |
Customizing Your Flavor
You can easily scale this recipe. For a smaller batch, just halve the ingredients. If you're feeding a crowd, you can double it, but work in two batches so you don't crowd the pan. Crowding the pan lowers the temperature and makes the rolls soggy instead of crisp.
For a different twist, try adding a thin slice of ham or a smear of pesto inside. If you love a dipping sauce, these pair great with a Cheddar Cheese Sauce for extra richness.
Decision Shortcut:
- If you want a spicy kick, add sliced jalapeños.
- If you want a hearty meal, add a thin slice of deli turkey.
- If you want a fancy version, use brie and a touch of honey.
Storage and Waste Tips
- Refrigeration
- Store leftovers in an airtight container for up to 3 days.
- Freezing
- You can freeze these for 1 month. Wrap them individually in foil.
- Reheating
- Don't use the microwave or they'll get rubbery. Pop them in a toaster oven or air fryer at 350°F for 3-4 minutes.
Zero Waste: Don't throw away those bread crusts. Toss them in a pan with butter, cinnamon, and sugar to make quick cinnamon toast sticks for the kids.
Plating Your Snacks
I like to serve these on a wooden board with a side of tomato soup. For a party platter, stand them up vertically in a glass or a small basket. This keeps them from steaming each other and keeps the crusts crisp. Garnish with a sprinkle of fresh parsley or paprika to add a pop of color to the golden brown rolls.
Recipe FAQs
What are grilled cheese roll ups?
Cheesy bread cylinders toasted in butter. They are made by flattening crustless white bread, rolling it around Cheddar, and frying until golden.
What kind of cheese is best for roll ups?
Cheddar is the ideal choice. Its flavor profile and melting point ensure the rolls stay secure and tasty.
How to make toasted cheese rolls?
Flatten crustless white bread to 1/4 inch with a rolling pin. Add Cheddar, roll tightly, brush with melted butter, and fry seam side down in a medium heat skillet for 1-2 minutes per side.
How to make a grilled cheese sandwich for kids?
Remove the crusts and roll the bread into small cylinders. This creates a finger food format that is much easier for children to manage.
How to make a double grilled cheese sandwich?
Stack two slices of Cheddar on the flattened bread before rolling. Keep a 1/4 inch border around the edges to prevent the extra cheese from leaking during frying.
Can these be frozen for later?
Yes, they can be frozen for one month. Wrap each roll individually in foil. If you enjoyed the efficiency of prepping these snacks, see how the same batch prep logic applies to our Keto Pizza crusts.
How to reheat leftovers without them getting rubbery?
Heat them in a toaster oven or air fryer at 350°F. Cook for 3-4 minutes to maintain the crisp texture; using a microwave will make the bread rubbery.
Grilled Cheese Rollups