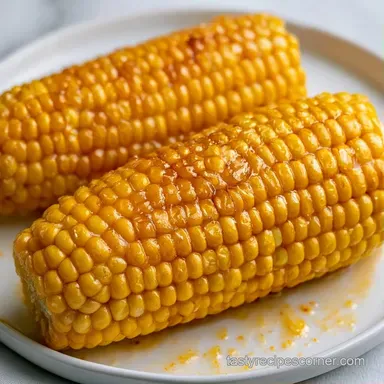
Frozen Corn on Cob in 18 Minutes
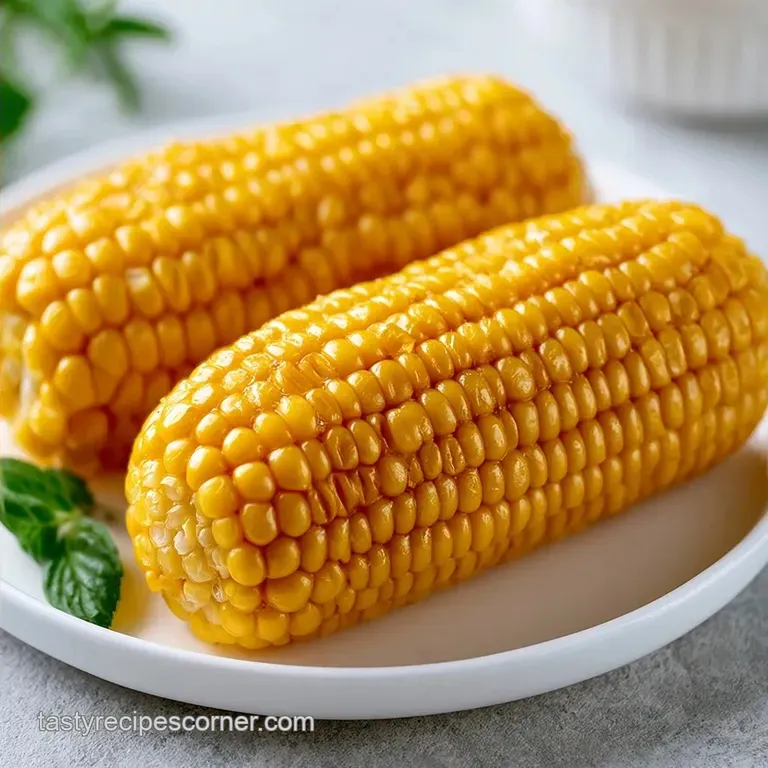
- Time: 10 min active + 8 min cook
- Flavor/Texture Hook: Sweet, snappy kernels with a crisp bite
- Perfect for: Garden harvests and winter soul warming meals
That pop of a fresh kernel is the sound of summer. I used to think I could just toss ears of corn straight into the freezer and they'd be fine, but I was wrong. The first time I tried it, the corn turned a dull, starchy yellow and tasted like cardboard by December.
You don't need fancy equipment to save your harvest, just a bit of timing. Forget the idea that raw freezing is a shortcut, because it actually kills the flavor.
The goal here is a contrast between the bright, natural sweetness and a crisp, tender texture. This guide for Frozen Corn on Cob ensures you keep that snap without the freezer burn.
Frozen Corn on Cob Guide
Right then, let's look at the basics. We are working with a small batch here, but the method scales up for those with a full garden.
Flavor Map:
- Sweet: Natural corn sugars
- Savory: Sea salt brine
- Texture: Crisp kernels, tender cob
| Fresh Corn | Blanched & Frozen | Result |
|---|---|---|
| Immediate use | Long term storage | Snap preserved |
| Perishable | Stable | Year round access |
| Peak flavor | Locked in sweetness | No starchy taste |
The difference is all in the heat. A quick boil stops the clock on spoilage, which is why this is the standard for any Tennessee kitchen.
Essential Ingredient Specs
I prefer a minimalist approach. You don't need a multitude of ingredients to highlight the natural flavor of a quality ear of corn.
| Component | Purpose | Substitute Notes |
|---|---|---|
| Fresh Corn | Main base | Frozen kernels (changes the experience) |
| Sea Salt | Flavor and texture | Kosher salt (use slightly more) |
| Filtered Water | Blanching medium | Tap water (might add mineral taste) |
The Main Produce
Sweet corn is my choice here. As noted by USDA FoodData, the higher sugar content in sweet corn compared to field corn is what provides that comforting, soul warming flavor.
The Blanching Liquid
The salt in the water serves a dual purpose. In addition to seasoning, it helps the kernels remain firm during the rapid boil.
Necessary Kitchen Tools
No professional equipment is required just a few heat resistant basics.
- Large stockpot (sized to fit 6 ears without crowding)
- Large mixing bowl (for the ice bath)
- Kitchen towels or paper towels
- Freezer safe bags or a vacuum sealer
- Sharp knife for trimming
Chef Note: Use a vacuum sealer if you have one. It extracts far more air than manually squeezing a bag, which prevents ice crystals from forming on the corn.
The Freezing Process
Let's get started. Stick to these instructions carefully, particularly the timing, to keep your corn from becoming mushy.
- Strip away the green and white husks and remove all the silk from the corn.
- Trim the stem end to make the cob even, then rinse the ears under cold water to clear any remaining debris.
- Bring a large stockpot of salted water to a rolling boil.
- Gently place the corn into the pot and boil for exactly 8 minutes once the water returns to a boil. Note: Do not go over 9 minutes if you want to keep the snap.
- Move the corn immediately into a bowl of ice water and let them soak for 8 minutes to stop the cooking.
- Pat each ear completely dry with a kitchen towel to prevent ice crystals, continuing until no moisture remains on the surface.
- Place the ears in freezer bags, expel all air, and seal them securely.
- Mark the bags with today's date and store them in the freezer.
Solving Common Issues
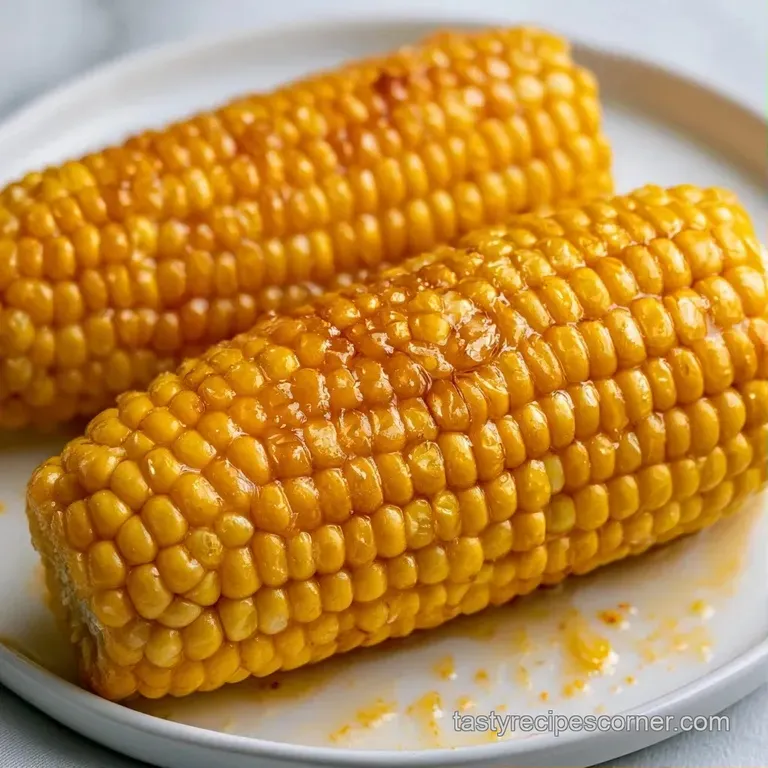
Even the best home cooks hit a snag now and then. Usually, it comes down to temperature or timing.
Mushy Kernels
This happens when the corn stays in the boiling water too long. If you over boil, the cell walls collapse. The ice bath is non negotiable because it halts the heat instantly.
Ice Crystal Build up
If you see frost inside the bag, the corn was likely still damp when you packed it. Moisture turns into ice, and ice tears the surface of the corn. Pat them bone dry.
Dull Flavor
This usually stems from freezing corn without blanching. Raw corn contains enzymes that keep working even in the cold, breaking down the sugars.
| Problem | Root Cause | Solution |
|---|---|---|
| Mushy corn | Over boiled | Stick to 8 minutes |
| Ice crystals | Wet corn | Pat dry thoroughly |
| Loss of sweetness | Raw freezing | Always blanch first |
Corn Swaps and Tweaks
You can adjust this method depending on how you plan to eat your Frozen Corn on Cob later.
- For a softer bite: Boil for 9 minutes instead of 8.
- For smaller freezers: Cut the ears into thirds before blanching.
- For lower sodium: Reduce salt to 1 teaspoon, though the kernels may be slightly less crisp.
If you're looking for a different kind of comfort food to pair with this, my Easy Cottage Pie uses a similar approach to keeping textures distinct.
Storage and Waste Tips
Keep your corn in the deepest part of the freezer, far from the door to avoid temperature swings.
Storage Guidelines: - Fridge: 2-3 days (if not freezing) - Freezer: 8-12 months
Eco-Friendly Tip: Save your corn cobs after you've removed the kernels! Simmer the cobs in a pot of water with celery and onion scraps to make a comforting vegetable broth. It adds a natural sweetness that store-bought cubes can't provide.
Best Side Dish Pairings
Frozen corn is a flexible side. To reheat, simply boil the frozen ears for 3-5 minutes or place them on a hot grill.
This dish is a wonderful accompaniment to a hearty Classic Beef Chili during the winter. The sweet corn offers a bright contrast to the savory beef.
For a summer feel, serve it with a pat of salted butter and a dash of smoked paprika. The heat of the corn melts the butter into a creamy sauce that glazes every kernel.
Reasoning for the Method
To maintain high quality, this method follows a few basic principles of food preservation.
- Stopping Enzymes: Blanching disables the enzymes that lead to flavor loss. According to the experts at Serious Eats, this is the key to keeping vegetables tasting fresh.
- Rapid Cooling: An ice bath stops carry over cooking. Without it, the corn continues to cook from its own internal heat, resulting in a mushy texture.
Scaling Tips: - Scaling Down: If preparing only 2-3 ears, use a smaller pot and reduce the boiling time by about 1 minute to prevent overcooking. - Scaling Up: Process in batches.
Overcrowding the pot causes the water temperature to drop too far, meaning you'll steam the corn rather than boil it. For very large batches, only increase the salt to 1.5x.
Recipe FAQs
Is it true that raw corn on the cob can be frozen without blanching?
Surprisingly, no. Blanching stops enzyme activity that otherwise causes the corn to lose flavor and become tough during storage.
Does the quality of corn on the cob hold up after freezing?
Yes, it stays delicious. When blanched and frozen properly, the sweetness and snap remain for up to 12 months.
How do I prepare fresh ears for the freezer?
Remove husks and silk strands first. Slice off the stem end, rinse under cold water, and boil for 7 to 9 minutes before an ice bath.
Should corn be cooked or raw before freezing?
Cook it briefly. A quick blanch in salted boiling water preserves the cellular structure and prevents the kernels from becoming starchy.
What is the secret to preventing soggy frozen corn?
Pat each ear completely dry. Use a kitchen towel to remove all surface moisture before bagging to prevent ice crystals from forming.
How do you boil frozen corn ears?
Drop them into a rolling boil. Cook for a few minutes until heated through, then remove immediately to avoid overcooking the kernels.
Which storage method keeps corn best for months?
Use vacuum sealers or freezer bags. Squeeze out every bit of air to prevent freezer burn and store in the coldest part of the freezer.
Can frozen corn be used in other dishes?
Yes, it is very versatile. It pairs beautifully with a vegan cheese sauce for a creamy, savory side dish.
Frozen Corn On Cob