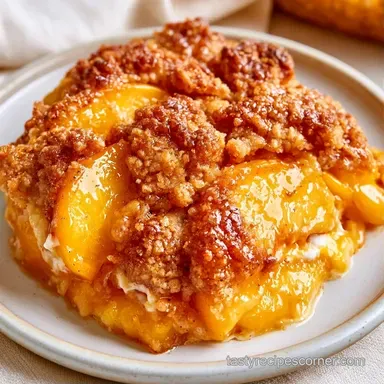
Golden Peaches and Cream Dump Cake
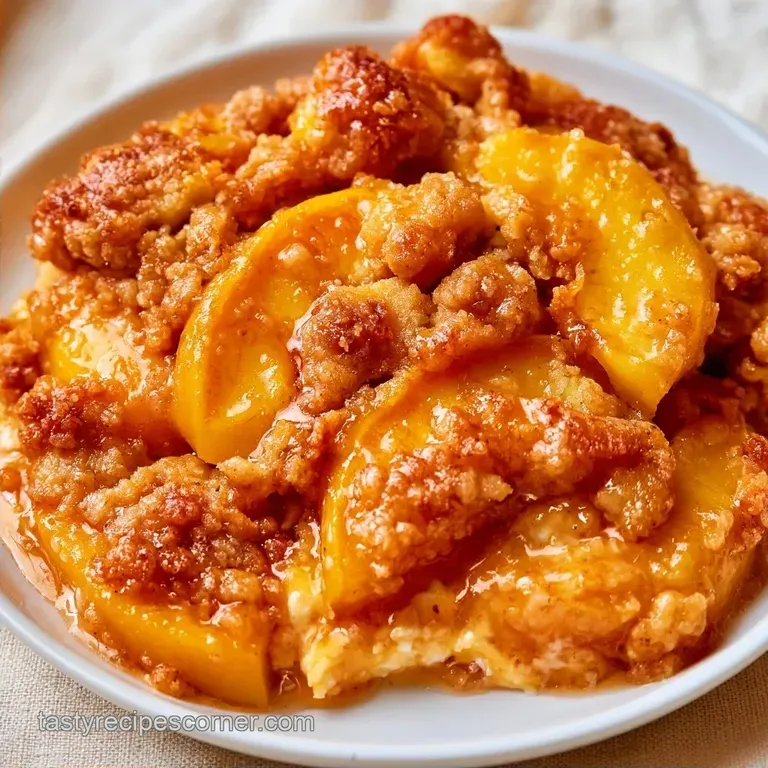
- Time: 5 min prep + 45 min baking
- The Appeal: A rich, golden-brown crust paired with swirls of zesty cream
- Ideal for: Spontaneous dinner guests or a low-stress family treat
The aroma of bubbling peach syrup and toasted butter is essentially a dinner bell. I remember struggling with a formal peach cobbler once, spending an hour cutting cold butter into flour, only to have the top burn while the bottom stayed raw. It was a disaster.
That's why I adopted this method. It removes the stress by letting the oven do all the hard work; just layer your ingredients, add the butter, and walk away.
The result is a dessert that feels sophisticated but takes almost no effort. This peach treat provides a thick, jammy fruit layer and a crust that cracks like a cookie.
Why Peaches and Cream Dump Cake Works
- Butter Pat Method: Placing butter slices on top of the dry mix creates pockets of steam and fat. This prevents the cake from becoming a solid block and instead makes it a textured, craggy crust.
- Syrup Retention: Keeping the heavy syrup from the cans is a must. The sugar in the syrup boils down during the 45 min bake, which thickens the sauce and helps the fruit caramelize.
- Cream Cheese Pockets: Dropping the cream cheese in dollops rather than mixing it in ensures you get streaks of tanginess. It cuts through the sweetness of the yellow cake mix.
Essential Kitchen Gear
You don't need much here, which is the best part. A standard 9x13-inch baking dish is the only non negotiable. If you use a deeper dish, the peaches might not bubble enough, and if you use a larger one, the cake layer will be too thin.
I usually use a small silicone spatula for the cream cheese mix. It makes blending the softened cheese and melted butter much faster. A fork is also handy for pressing the cake mix into the fruit to get rid of those annoying air pockets.
What Each Ingredient Does
For a Peaches and Cream Dump Cake, the balance between the acidity of the lemon and the richness of the butter is what makes it taste homemade.
| Component | Purpose | Substitute Notes |
|---|---|---|
| Canned Peaches | Base flavor and moisture | Fresh peaches: Need extra sugar and cornstarch to thicken |
| Cream Cheese | Tangy contrast | Mascarpone: Richer and milder, but works well |
| Yellow Cake Mix | Structure and sweetness | White cake mix: Lighter flavor, less buttery profile |
| Unsalted Butter | Creates the crisp crust | Salted butter: Works fine, just omit extra salt if adding |
The Full Grocery List
Gather these ingredients to get started. I recommend using a brand like Betty Crocker or Duncan Hines for the cake mix, as their rise is always reliable.
- 2 cans (29 oz / 828g each) sliced peaches in heavy syrup Why this? The syrup offers the sugar needed for proper caramelization
- 1 tsp (5ml) vanilla extract Why this? Balances the flavor of the preserved fruit
- 4 oz (113g) cream cheese, softened Why this? Creates a decadent, cheesecake style swirl
- 2 tbsp (30ml) melted butter Why this? Ensures the cream cheese mixes into a creamy paste
- 1 tbsp (15ml) lemon juice Why this? Offsets the sweetness of the heavy syrup
- 1 box (15.25 oz / 432g) yellow cake mix Why this? Delivers that traditional buttery taste
- 3/4 cup (170g) unsalted butter, thinly sliced into pats Why this? Key for achieving that cobblestone finish
The step-by-step Bake
- Set the oven to 350°F (175°C).
- Pour the canned peaches and their syrup into a 9x13-inch baking dish, spreading them evenly.
- Stir the vanilla extract directly into the peaches in the pan.
- In a small bowl, blend the softened cream cheese, melted butter, and lemon juice until smooth.
- Drop dollops of the cream cheese mixture over the peaches and use a knife to gently swirl them into the syrup, creating visible ribbons.
- Sprinkle the dry cake mix evenly over the top of the peach layer, using a fork to gently press the powder into the fruit to eliminate large air pockets.
- Arrange the sliced butter pats across the entire surface of the cake mix, ensuring no dry powder is left exposed.
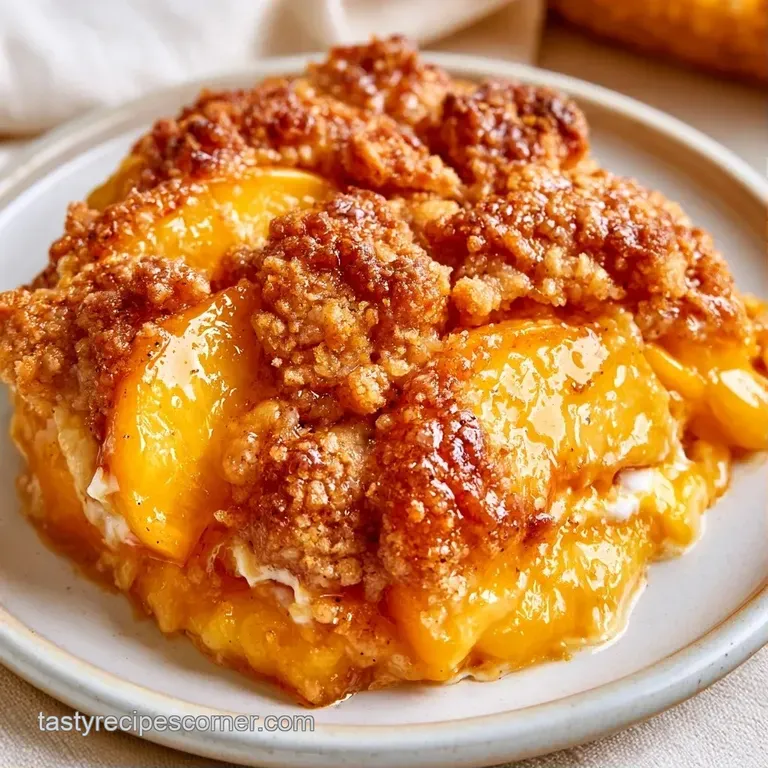
- Bake for 40–50 minutes until the edges are bubbling and the top has reached a deep, mahogany colored gold.
Chef Note: When you pull it out of the oven, let it sit for 10 minutes. The syrup is molten hot, and resting allows the sauce to set so it doesn't run all over the plate.
Fixing Common Issues
Even a simple recipe can go sideways if the oven is acting up or the ingredients aren't prepped right. Here is how to handle the usual suspects.
Fixing Powdery Spots
If you see dry white patches of cake mix after about 20 minutes in the oven, your butter pats were too far apart. Trust me, this happens. Just quickly open the oven and drizzle a tablespoon of melted butter over the dry spots. This will ensure they crisp up instead of staying chalky.
Handling Runny Sauce
If the filling feels too thin, you likely used peaches in "light syrup" or "juice" instead of "heavy syrup." The lower sugar content means it won't thicken as well. To fix this for next time, simmer the canned peaches in a saucepan for 5 minutes to reduce the liquid before adding them to the pan.
Avoiding a Burnt Top
Because of the high sugar content in the cake mix and syrup, the top can go from golden to burnt quickly. If the top looks done but the edges aren't bubbling , tent the pan loosely with aluminum foil. This protects the crust while the middle finishes cooking.
Preventing Soggy Centers
The biggest culprit here is over swirling the cream cheese. If you mix the cream cheese completely into the peaches, it thins out the fruit base. Keep the dollops distinct so they stay as rich pockets of cream.
Keeping Leftovers Fresh
This treat lasts quite a while, although the crust will soften slightly after the first day.
Fridge Storage
Place leftovers in an airtight container. They will last 3 to 4 days in the refrigerator. To restore the original texture, skip the microwave and warm a piece in the toaster oven for 5 minutes.
Freezer Storage
The cake stays fresh for up to 2 months in the freezer. First, freeze squares on a baking tray, then transfer them to a freezer safe bag so they don't clump together.
Zero Waste Tip
Don't discard any leftover cake mix. Combine it with a bit of sugar and melted butter to create a fast crumble topping for fresh berries or an Applesauce Cake.
Different Flavor Twists
After you have mastered the original recipe, feel free to experiment with the ingredients.
Comparing Your Fruit Options
| Fruit Type | Texture Result | Flavor Profile |
|---|---|---|
| Canned Peaches | Jammy and consistent | Classic, sweet, syrupy |
| Fresh Peaches | Chunky and fresh | Tart, bright, natural |
| Frozen Peaches | Soft and juicy | Mild, requires extra sugar |
- For a zesty profile
- Mix 1 tsp of orange zest into the cream cheese.
- For a spiced version
- Sprinkle 1/2 tsp of cinnamon over the peaches before adding the cake mix.
- For a firmer set
- Bake for an additional 5 minutes and let it cool for 20 minutes instead of 10.
Plating and Presentation
Because this is a "dump" cake, a rustic appearance is natural. However, if you are hosting guests, you can easily elevate the presentation.
The Classic Look
Place a generous scoop in a bowl and add a dollop of whipped cream. This approach emphasizes comfort and a "homey" feel.
The Polished Look
Use a hot knife to cut the cake into neat squares. Center one square on a white plate and garnish with a fresh peach slice and a sprig of mint.
The Restaurant Look
Spoon a bit of the syrup from the pan onto the plate first, then set the cake square on top. For a sophisticated finish, drizzle some Irish Cream Hot Fudge around the edges for a rich, contrasting taste.
Plating Tweaks
| Level | Key Addition | Vessel |
|---|---|---|
| Simple | Vanilla Ice Cream | Casual Bowl |
| Polished | Fresh Mint Leaf | Dessert Plate |
| Restaurant | Syrup Reduction | Wide rimmed Plate |
- 1. Temperature
- The oven must be exactly 350°F (175°C).
- 2. Visual Cue
- The top should be mahogany gold, not pale yellow.
- 3. Rest Time
- Cooling for 10 minutes before slicing is mandatory.
Honestly, don't overthink the Peaches and Cream Dump Cake. The beauty is that it's meant to be a bit messy and rustic. As long as you achieve that bubbling fruit and buttery crust, your guests will be delighted. Enjoy!
Recipe FAQs
Do you drain the peaches when making this cake?
No, keep the heavy syrup. The sugar in the syrup boils down during the 45-minute bake, which thickens the sauce and helps the fruit caramelize.
What is the most common mistake to avoid?
Leaving dry cake mix exposed. Ensure butter pats cover the entire surface to prevent clumps of uncooked powder from remaining after baking.
Is it true that you must stir the cake mix into the fruit?
No, this is a common misconception. Stirring creates a dense, gummy texture; instead, sprinkle the mix on top to achieve a crisp, cookie like crust.
How to prevent dry flour pockets on top?
Press the powder gently into the fruit using a fork before adding butter. This eliminates large air pockets and ensures the topping integrates with the jammy base.
Which elements create the 'cream' part of the dessert?
Softened cream cheese blended with melted butter and lemon juice. If you enjoyed the streamlined prep here, see how we use the same time saving principle in our Keto Tom Kha Gai.
Peaches And Cream Dump Cake