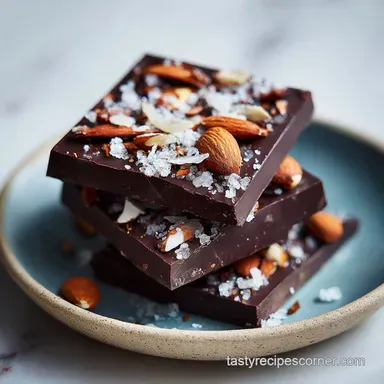
Homemade Chocolate Bars: Velvety and Rich
- Time: 10 min active + 2 hours 5 min chilling = Total 2 hours 15 mins
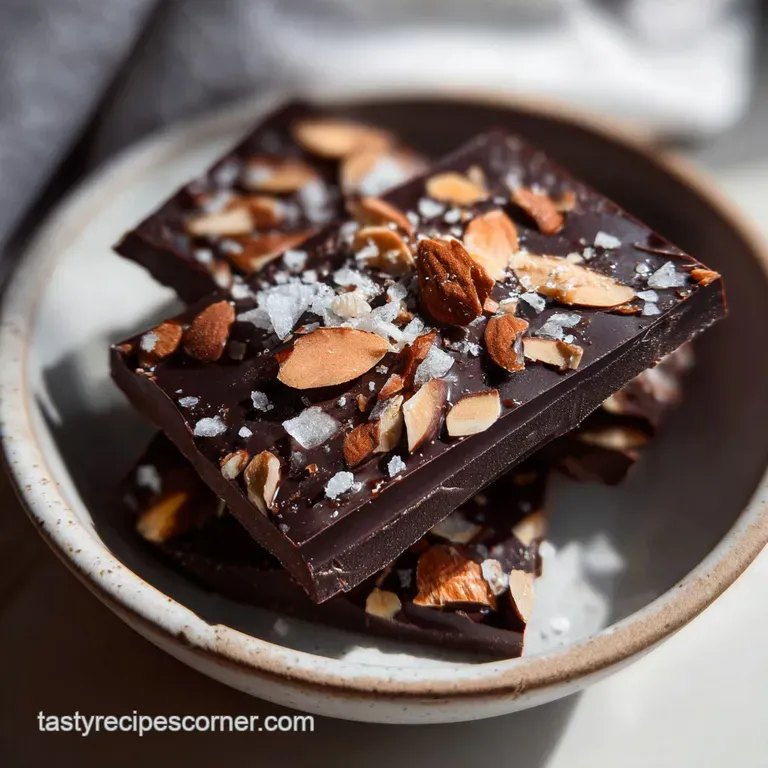
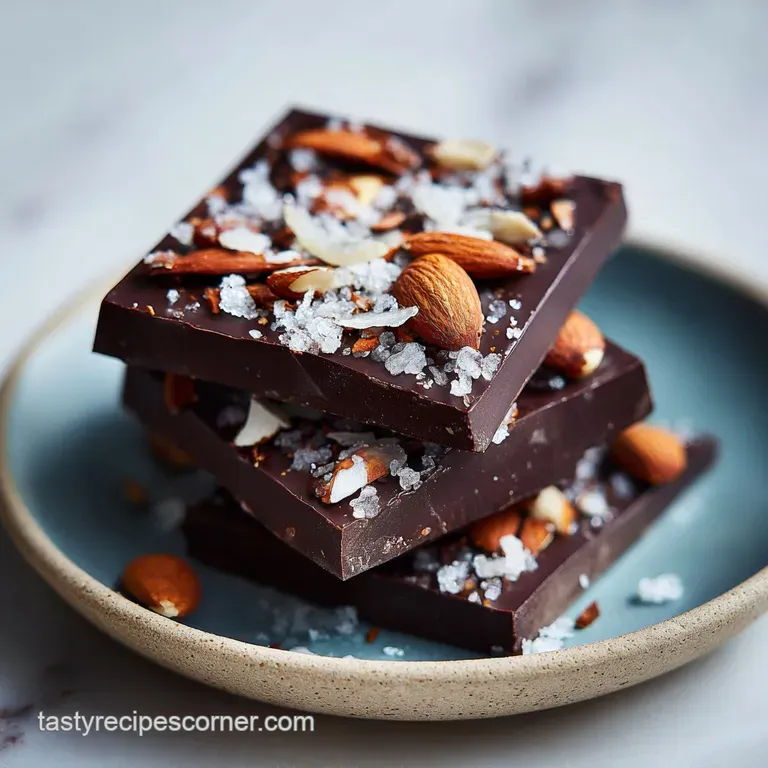
- Flavor/Texture Hook: Velvety smooth dark chocolate with a salty, nutty shatter
- Perfect for: Quick gourmet gifts or a low effort dessert for guests
The first time I tried making these, I didn't use a double boiler. I just threw everything in a bowl and stirred. The result was a disaster - a grainy, separated mess with a literal oil slick floating on top. I remember staring at this sludge, wondering why my "simple" treat looked like a science experiment gone wrong.
The issue was that maple syrup and coconut oil are like oil and water - they don't want to mingle. Without gentle, consistent heat, they never emulsified. Once I switched to a double boiler, the mixture transformed into a glossy, mahogany liquid that felt like silk on the spoon.
Now, I use this method every time I want homemade Chocolate Bars that actually feel elegant. You don't need a professional kitchen or a degree in food science, just a little patience with the temperature. It's the difference between a greasy block and a bar that snaps cleanly.
The Secret to Great Chocolate Bars
To get that professional finish, you have to focus on the emulsion. Because we aren't using cocoa butter, we rely on coconut oil to provide the structure. According to the experts at Serious Eats, sifting your dry ingredients is non negotiable when working with cocoa powder to avoid those tiny, bitter clumps that ruin the mouthfeel.
- Emulsification
- The double boiler gently forces the maple syrup and oil to bond, creating a stable, smooth liquid.
- Saturated Fat Stability
- Coconut oil stays solid at room temperature (mostly), providing the "snap" when chilled.
- Flavor Balancing
- Sea salt suppresses the bitterness of the cocoa, making the sweetness of the maple syrup feel more refined.
- Texture Contrast
- The crushed almonds add a structural shatter that breaks up the richness of the fats.
| Method | Time | Texture | Best For |
|---|---|---|---|
| Double Boiler | 15 mins | Velvety | Elegant results |
| Microwave | 5 mins | Grainy/Risk of burn | Emergency cravings |
| Cold Stir | 10 mins | Separated/Oily | Not recommended |
The key to this specific ingredient chocolate bars 1 approach is the temperature. If the oil gets too hot, it can separate again; if it's too cold, the cocoa won't bloom. Keeping it low and slow ensures the fats encapsulate the cocoa particles perfectly.
Component Analysis
| Ingredient | Science Role | Pro Secret |
|---|---|---|
| Coconut Oil | Structural Base | Use refined for neutral taste, unrefined for coconut notes |
| Cocoa Powder | Flavor/Color | Sift twice for a truly velvety finish |
| Maple Syrup | Sweetener/Binder | Warm it slightly before adding to avoid "seizing" |
| Sea Salt | Flavor Enhancer | Use flaky Maldon for visual contrast and a salty pop |
Component Checklist
Gather these items before you start. I've found that having everything measured out prevents the oil from cooling down too much while you're hunting for the salt.
- 1/2 cup (115g) coconut oil Why this? Provides the essential firm structure when chilled (Substitute: Cocoa butter for a harder snap)
- 1/2 cup (45g) cocoa powder Why this? Deep, dark chocolate base (Substitute: Carob powder for a caffeine free version)
- 3 tbsp (63ml) maple syrup Why this? Natural liquid sweetener that emulsifies well (Substitute: Honey, though it adds a floral note)
- 1 pinch (1g) sea salt Why this? Cuts through the richness (Substitute: Fine table salt)
- 1/4 cup (30g) crushed almonds Why this? Adds a necessary crunch (Substitute: Pistachios for a green accent)
Kitchen Tools
You don't need a ton of gear, but a few specific items make the process much easier. I personally use a silicone mold because it makes popping the bars out a breeze.
- Double boiler (or a glass bowl over a pot of simmering water)
- Fine mesh sieve
- Whisk or silicone spatula
- Silicone molds or a small parchment lined tray
Step-by-step Method
Let's get into it. Remember, the goal here is a glossy, smooth liquid. If you see any streaks of oil, keep whisking.
- Combine the coconut oil and maple syrup in a double boiler over low heat. Note: Ensure the bowl doesn't touch the water.
- Stir gently until the oil is completely liquid and the syrup is fully integrated.
- Sift in the cocoa powder. Note: This prevents clumps from forming in the fat.
- Whisk continuously until the mixture is mahogany colored, glossy, and completely smooth.
- Stir in a pinch of sea salt. Note: This brightens the cocoa notes immediately.
- Pour the liquid chocolate into silicone molds or onto a parchment lined tray.
- Sprinkle with crushed almonds. Note: Press them lightly with a spatula so they don't float away.
- Place the tray in the freezer for 20 minutes until the top layer is set.
- Move to the refrigerator for at least 2 hours until completely firm and opaque.
Fixing Common Issues
Most mistakes with these Chocolate Bars happen during the melting phase. If your bars feel "greasy" on the tongue, it's usually an emulsion failure.
Troubleshooting Common Issues
| Issue | Solution |
|---|---|
| Why Your Chocolate Is Grainy | This happens when cocoa powder is added too quickly or not sifted. The powder clumps together and the fat can't penetrate the center of the clump. |
| Why Your Chocolate Separated | If you overheat the mixture, the maple syrup can separate from the oil. You'll see small beads of oil on the surface. |
| Why Your Bars Are Too Soft | This is usually due to the room temperature being too high. Coconut oil has a relatively low melting point. |
Mistakes Checklist
- ✓ Never let the bowl touch the boiling water in the double boiler.
- ✓ Always sift the cocoa powder to ensure a velvety finish.
- ✓ Don't skip the freezer "flash set" step.
- ✓ Use a pinch of salt to balance the maple sweetness.
- ✓ Store in airtight containers to avoid fridge odors.
Easy Ingredient Swaps
If you want to tweak the flavor, you can play with the mix ins. For a more sophisticated vibe, I love adding dried raspberries or a hint of orange zest.
If you're looking for something even lower in carbs, my Keto Cookie Dough Fat Bombs use a similar fat based setting technique. For a more traditional feel, you can swap the maple syrup for a liquid sweetener like agave, though the flavor profile will be less earthy.
When using honey instead of maple syrup, the bars will be slightly denser and have a stronger, distinct honey taste. If you use cocoa butter instead of coconut oil, the bars will be much harder and won't melt as quickly in your hand, but they require higher heat to melt initially.
Storage Guidelines
Because we use coconut oil, these aren't exactly shelf stable in a warm kitchen. They're best kept chilled to maintain that satisfying snap.
Store these Chocolate Bars in an airtight container in the fridge for up to 2 weeks. They also freeze beautifully for up to 2 months. Just pop them straight from the freezer into your mouth for a refreshing treat.
While these bars need a fridge, my Edible Cookie Dough is a great option for immediate snacking. To avoid waste, if you have leftover cocoa powder or coconut oil, you can whisk them into your morning coffee for a homemade mocha.
Serving and Garnishing
Since this is a dark chocolate base, the visual contrast is where you can really wow your guests. I follow a "Rule of Three" for colors to make the plate look curated.
- 1. Ruby Red
- Dried cranberries or freeze dried raspberries.
- 2. Vibrant Green
- Chopped pistachios or a mint leaf.
- 3. Crisp White
- A final sprinkle of flaky sea salt.
When presenting your Chocolate Bars, break them into irregular shards rather than perfect rectangles. It looks more organic and rustic. Serve them on a slate board or a white ceramic platter to make the deep mahogany color of the chocolate truly pop.
Scaling Tips If you're making a smaller batch, just halve everything. Use a smaller tray and reduce the fridge time by about 20%. For a double batch of chocolate bars 1, double the oil and cocoa, but only increase the salt to 1.5x - too much salt can overwhelm the delicate maple notes.
Common MisconceptionsMyth: All homemade chocolate needs to be tempered. Truth: Tempering is for cocoa butter. Since we use coconut oil and store them cold, the bars set perfectly without the complex heating and cooling cycles.
Myth: You can use a microwave for the same result. Truth: Microwaves create hot spots that can scorch the cocoa powder, leaving a burnt aftertaste and a grainy texture. Trust the double boiler.
Recipe FAQs
How to make these chocolate bars?
Combine coconut oil and maple syrup in a double boiler over low heat. Sift in cocoa powder and whisk until the mixture is mahogany colored and glossy before chilling in the freezer for 20 minutes and the fridge for 2 hours.
Is it true that dark chocolate bars can lower blood pressure?
No, this is a common misconception. While cocoa contains flavonoids, these homemade treats are intended for flavor and enjoyment rather than medical treatment.
Is it true I must use a double boiler to melt the ingredients?
No, this is a common misconception. A microwave on low power can work, but a double boiler is recommended to prevent the maple syrup from separating from the oil.
Why are my chocolate bars too soft at room temperature?
Coconut oil has a relatively low melting point. Store your bars in the refrigerator or freezer to ensure they maintain a firm, satisfying snap.
Why did my homemade chocolate turn out grainy?
Cocoa powder was likely added too quickly or not sifted. Sifting the powder is essential to remove clumps that the fat cannot penetrate during whisking.
Why did the oil separate from the maple syrup?
The mixture was likely overheated. Keep the heat low in your double boiler to ensure the oil and syrup remain fully integrated and glossy.
What is the best way to serve these bars?
Serve them chilled directly from the refrigerator. These bars pair beautifully with a scoop of creamy nutty dessert for a decadent combination.
Homemade Chocolate Bars