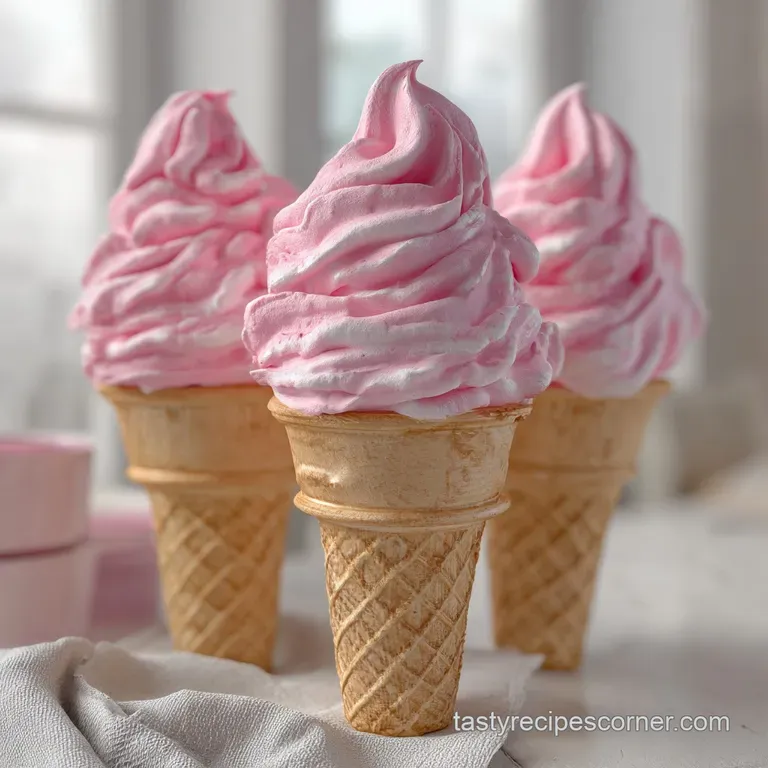
Key Lime Mallow Cones with White Chocolate Barrier
- Time: Active 25 minutes, Passive 15 minutes, Total 40 minutes
- Flavor/Texture Hook: Zesty lime marshmallow with a velvety, cloud like texture and a cone that offers a clean shatter
- Perfect for: Pastel themed parties, elegant garden gatherings, or impressive weekend baking projects
- Master These Key Lime Mallow Cones
- Science of the Marshmallow Bond
- Analysis of the Core Components
- Professional Tools for Best Results
- The Alchemy of Selecting Ingredients
- Bringing the Cones to Life
- Fixing Common Preparation Hurdles
- Scaling Your Batch for Guests
- Creative Swaps for Festive Flavors
- Keeping the Mallow Fresh
- Serving for an Elegant Finish
- Recipe FAQs
- 📝 Recipe Card
Master These Key Lime Mallow Cones
We've all been there, haven't we? You spend an afternoon whipping up a batch of treats, only to have the cones turn into a soft, limp mess before the first guest even arrives. I remember my first attempt at homemade mallow cones for a summer brunch.
I was so proud of those fluffy peaks, but by the time we served them, the moisture from the marshmallow had soaked straight through the vanilla waffle cones. It was a sticky disaster that I wasn't about to repeat.
That failure led me to the "crunch guard" method you'll find here. It's a simple trick that changes everything, ensuring your pink vanilla key lime mallow cones stay exactly as they should be. This recipe isn't just about mixing sugar and gelatin, it's about the chemistry of keeping textures separate. We're aiming for that specific contrast between a velvety, citrus forward filling and a shell that maintains its structural integrity. If you've enjoyed making something like my favorite Lemonade Cream Cheese recipe, you already know how a bright citrus note can transform a sweet dessert into something sophisticated.
Science of the Marshmallow Bond
The secret to these pink vanilla key lime mallow cones lies in the protein structure of the gelatin and the temperature of the sugar syrup. When we bloom 21g of unflavored gelatin in the 0.5 cup of fresh key lime juice, we're setting the stage for a stable foam that won't weep liquid.
As the sugar syrup reaches exactly 240°F, it enters the "soft ball" stage, which provides the necessary sugar concentration to trap air bubbles when we start the high speed whipping process.
- Protein Denaturation
- Whipping the gelatin syrup mixture unfolds protein strands that then trap air, creating a stable, bouncy structure.
- Hygroscopy Control
- Using light corn syrup prevents the granulated sugar from recrystallizing, ensuring a silky feel on the tongue.
- Moisture Barrier
- The fat in the white candy melts creates a hydrophobic layer that stops the water in the marshmallow from migrating into the cone.
| Method | Time | Texture | Best For |
|---|---|---|---|
| Fast (store-bought mallow) | 10 minutes | Sticky/Chewy | Last minute snacks |
| Classic (This Recipe) | 40 minutes | Airy/Velvety | Impressive party displays |
| No Bake Hybrid | 25 minutes | Dense/Creamy | Beginner friendly prep |
The difference in texture between a store-bought marshmallow and this homemade version is night and day. While the fast method works when you're in a pinch, the classic sugar syrup technique yields a finish that is far more elegant and professional.
The classic method allows the 0.25 cup of key lime zest to really bloom within the warm syrup, infusing every bite with that essential citrus oil.
Analysis of the Core Components
| Ingredient | Science Role | Pro Secret |
|---|---|---|
| Unflavored Gelatin (21g) | Structural Matrix | Bloom it in cold juice to ensure no grainy lumps form. |
| Key Lime Juice (0.5 cup) | Acid Catalyst | Fresh juice provides a sharper, more complex acidity than bottled. |
| Light Corn Syrup (1 cup) | Interference Agent | Prevents sugar crystals for a completely smooth, non gritty mallow. |
| White Candy Melts (1 cup) | Moisture Shield | Coat the cone twice for an extra thick "shatter" layer. |
Choosing the right components is what makes this lime mallow cones recipe stand out from standard sweets. When you use fresh juice, the acid helps to slightly break down the sugar, creating a more nuanced sweetness. It's a similar balance to what you'd find in a High Protein Cottage recipe where texture and tanginess work together.
Professional Tools for Best Results
- Stand Mixer: Such as a KitchenAid, is vital because you need to whip this for 10 minutes straight.
- Candy Thermometer: Precision is key; hitting 240°F is the difference between a liquid mess and a stable peak.
- Large Piping Bag: Use a wide round tip or a star tip to get that signature "swirl" look.
- Heavy Bottomed Saucepan: This prevents the sugar syrup from scorching on the edges.
- Microplane: For getting that 0.25 cup of key lime zest without the bitter white pith.
- Cone Holder: Or even a tall glass filled with rice to keep the 12 vanilla waffle cones upright.
Chef's Tip: Before you start, wipe your mixer bowl and whisk with a little bit of vinegar or lemon juice. This removes any trace of fat that might prevent your marshmallow from reaching its full, fluffy volume.
The Alchemy of Selecting Ingredients
- 1 cup white candy melts: You can use white chocolate, but candy melts often have a higher melting point, which keeps them stable at room temperature.
- 1 tsp coconut oil: Helps the candy melts flow more smoothly for an even coating.
- 21g unflavored gelatin: This is typically three standard envelopes. Why this? It provides the necessary "bounce" and stability for a pipeable marshmallow.
- 0.5 cup fresh key lime juice: Tangy and aromatic. Why this? The high acidity balances the heavy sugar content of the mallow.
- 2 cups granulated sugar: The primary sweetener and structure builder.
- 1 cup light corn syrup: Keeps the texture silky.
- 0.25 tsp fine sea salt: Just enough to make the flavors pop.
- 0.5 cup water: To dissolve the sugar properly.
- 2 tsp clear vanilla extract: Use clear to keep the pink and green colors vibrant.
- 0.5 tsp pink gel food coloring: Gel is better than liquid as it doesn't change the consistency.
- 0.25 cup key lime zest: For that punch of citrus oil.
- 12 vanilla waffle cones: Ensure they are fresh and crisp before starting.
Bringing the Cones to Life
- Melt the 1 cup white candy melts with 1 tsp coconut oil in a microwave safe bowl. Note: Use 30 second bursts to avoid burning.
- Coat the interior of the 12 vanilla waffle cones with the melted mixture until the entire inner surface is opaque.
- Bloom the 21g gelatin in the 0.5 cup key lime juice in your mixer bowl for 5 minutes.
- Boil the 2 cups sugar, 1 cup corn syrup, 0.5 cup water, and salt in a saucepan.
- Cook the syrup until the thermometer reads exactly 240°F.
- Whisk the gelatin on low while slowly pouring in the hot syrup. Note: Pour down the side of the bowl to avoid splashing.
- Increase to high speed and whip for 10 minutes until the bowl feels cool and peaks are stiff.
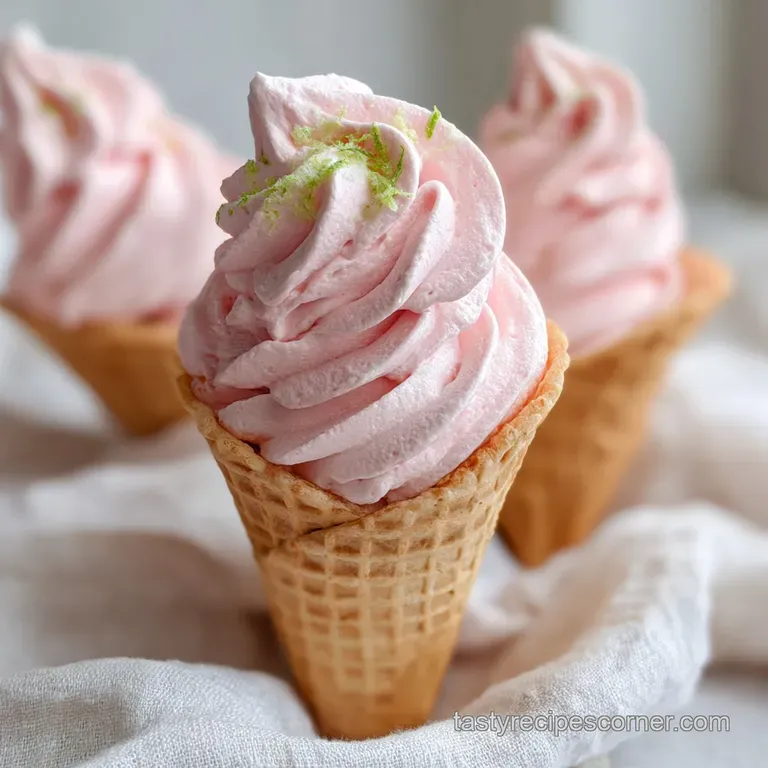
- Fold in the 2 tsp vanilla and 0.25 cup zest, then swirl in the 0.5 tsp pink gel food coloring.
- Pipe the mixture into the prepared cones immediately until it forms a tall, elegant peak.
- Let the cones set at room temperature for 2 hours until the surface is tacky but not wet.
Fixing Common Preparation Hurdles
Why Your Mallow is Runny
If your vanilla key lime mallow cones aren't holding their shape, it usually comes down to temperature. If the sugar syrup didn't reach 240°F, the structure isn't strong enough to hold the air you're whisking in.
Alternatively, if you didn't whip it long enough, the gelatin hasn't had time to set into a network.
Why Your Cones are Soggy
This happens when the "crunch guard" coating has a gap. Even a tiny hole in the white chocolate coating allows the marshmallow's moisture to seep into the waffle. It's also possible you filled the cones while the marshmallow was still too warm.
| Problem | Root Cause | Solution |
|---|---|---|
| Deflated Peaks | Under whipping | Whip for the full 10 minutes until the bowl is cool to the touch. |
| Gritty Texture | Crystallized Sugar | Do not stir the syrup once it starts boiling; use corn syrup as directed. |
| Soft Cones | Incomplete Coating | Double check for "bald spots" in the chocolate lining before filling. |
Common Mistakes Checklist ✓ Check the expiration date on your gelatin; old gelatin won't set firmly. ✓ Use a thermometer for the syrup; "guessing" by eye almost always fails. ✓ Don't skip the coconut oil in the candy melts, as it prevents the coating from being too brittle.
✓ Ensure your mixing bowl is completely grease free before adding the gelatin. ✓ Let the syrup stop bubbling before pouring it into the gelatin to prevent clumps.
Scaling Your Batch for Guests
Scaling Down (Making 6 Cones) You can easily halve this recipe. Use 1.5 envelopes of gelatin (about 10.5g) and halving the other ingredients. Use a smaller saucepan for the syrup so the thermometer can reach the liquid, and reduce the whipping time by about 2 minutes since there is less volume.
Scaling Up (Making 24 Cones) When doubling, do not double the salt use only 0.4 tsp. You will need a very large stand mixer bowl, as the mallow expands significantly. Work quickly when piping, as the marshmallow will start to set in the bag as it cools.
Baking for Large Crowds If you're making these for a large event, keep the temperature of the room in mind. Marshmallow likes a cool, dry environment. If it's humid, the sugar will pull moisture from the air, making them sticky.
| Servings | Gelatin Amount | Sugar Amount | Prep Time |
|---|---|---|---|
| 6 Cones | 10.5g | 1 cup | 20 minutes |
| 12 Cones | 21g | 2 cups | 25 minutes |
| 24 Cones | 42g | 4 cups | 35 minutes |
Creative Swaps for Festive Flavors
If you want a different vibe, you can easily tweak the profile of these lime mallow cones. For a tropical twist that reminds me of a Pina Colada Coconut recipe, try using coconut extract instead of vanilla and rolling the wet marshmallow peaks in toasted shredded coconut.
- Lemon Lavender: Swap the key lime for lemon juice and add a pinch of dried culinary lavender to the sugar syrup.
- Orange Creamsicle: Use orange juice and zest with a heavy hand of vanilla bean paste for a nostalgic flavor.
- The "Tropical Sunset": Use mango nectar instead of water in the syrup and keep the lime juice for the bloom.
Keeping the Mallow Fresh
Storage Guidelines These mallow cones are best eaten within 24 hours for the ultimate crunch. However, you can store them in an airtight container at room temperature for up to 3 days.
Do not refrigerate them, as the moisture in the fridge will ruin the waffle cone and make the marshmallow "sweat."
Zero Waste Tips If you have leftover marshmallow fluff that didn't fit in the cones, spread it into a greased pan dusted with powdered sugar. Once set, cut them into squares for homemade marshmallows.
Any leftover white candy melts can be drizzled over fruit or saved in a zip top bag for your next baking project.
Serving for an Elegant Finish
When you're ready to wow guests, presentation is everything. I love serving these in a vintage wooden crate filled with dried beans or colorful sprinkles to keep them standing upright. It creates a vertical display that looks very high end.
If you're hosting a garden party, these pair beautifully with a chilled Limeade recipe to double down on that refreshing citrus theme. You can even garnish the tops with an extra sprinkle of zest or a tiny wedge of candied lime just before the marshmallow fully sets. This adds a visual cue to the flavor inside and makes each cone look like it came from a professional patisserie. Trust me, the effort of the "crunch guard" and the sugar syrup is worth it when you hear that first crisp shatter as a guest takes a bite. It's pure baking magic.

Recipe FAQs
What is the essential step to prevent the waffle cones from becoming soggy?
Line the interior with melted white chocolate. This creates a hydrophobic "crunch guard" barrier that physically stops moisture migration from the marshmallow filling into the waffle structure.
How do I achieve the correct stiff, stable peaks for the marshmallow?
Whip the hot syrup and gelatin mixture on high speed for 10 minutes until the bowl is cool to the touch. The sugar syrup must reach exactly 240°F (soft ball stage) before whipping to ensure full structural integrity; mastering this temperature control is key to all stable foams.
Is using fresh key lime juice mandatory, or can I use bottled?
Yes, fresh juice is highly recommended for the best flavor. Fresh juice provides a much sharper, more complex acidity that better balances the high sugar content of the mallow base.
Can I substitute the light corn syrup with more granulated sugar?
No, substituting corn syrup will likely result in a gritty texture. Corn syrup acts as an interference agent, preventing the granulated sugar from recrystallizing, which keeps the final mallow silky smooth.
How long can I safely store the finished Key Lime Mallow Cones?
Eat within 24 hours for the best texture, but they are safe up to 3 days at room temperature. Do not refrigerate, as the ambient moisture will cause the cones to soften and the marshmallow to "weep."
How should I pipe the marshmallow mixture onto the cones?
Fit a large piping bag with a wide round or star tip and pipe immediately while the mallow is warm and flowable. Work quickly to build a tall, elegant peak, ensuring the mixture covers the chocolate lined interior completely.
What is the purpose of using clear vanilla extract instead of standard vanilla?
No, it is not mandatory, but clear vanilla is preferred for aesthetics. Clear extract is used to maintain the bright pink and pale green color profile of the dessert without introducing unwanted brown tinting.
Key Lime Mallow Cones Recipe

Ingredients:
Instructions:
Nutrition Facts:
| Calories | 348 kcal |
|---|---|
| Protein | 2.3 g |
| Fat | 5.4 g |
| Carbs | 66.9 g |
| Fiber | 0.4 g |
| Sugar | 58.2 g |
| Sodium | 67 mg |
