Chocolate Hazelnut Spread: Silky and Homemade
- Time:10 minutes prep + 12 minutes cook = 32 minutes total
- Flavor/Texture Hook: Rich, roasted nuttiness with a velvety, melt on-the tongue finish
- Perfect for: Elegant brunch spreads, gift giving, or a lower sugar pantry staple
- Create an Irresistible Chocolate Hazelnut Spread at Home
- The Reason This Silky Texture Actually Happens
- Essential Numbers for Your Kitchen Success
- Gathering Your Hazelnut and Chocolate Components
- Choosing the Right Tools for Maximum Smoothness
- Turning Raw Nuts Into Liquid Gold
- Fixing Grainy Textures and Motor Overheating
- Swapping Ingredients for Custom Flavor Profiles
- Keeping Your Homemade Spread Fresh for Weeks
- Serving Ideas to Impress Every Guest
- Flavor Myths and Common Misconceptions
- Recipe FAQs
- 📝 Recipe Card
Create an Irresistible Chocolate Hazelnut Spread at Home
Forget everything you think you know about that famous gold labeled jar. Most people assume the secret to that glossy, spreadable texture is a complex industrial process or a massive hit of palm oil, but that is a complete myth.
Honestly, I spent years settling for the store-bought stuff because I thought my home food processor just couldn't handle the job. Then I realized the mistake wasn't the machine; it was the temperature and the timing of the nuts.
When you make this yourself, you control the depth of the roast and the quality of the cocoa. There is nothing like the aroma of blistering hazelnuts filling your kitchen on a Sunday morning. It is a warm, earthy scent that signals something much better than a generic candy bar in a jar is about to happen.
You'll get a spread that actually tastes like toasted nuts first and sugar second, which is a total shift from the commercial versions we grew up eating.
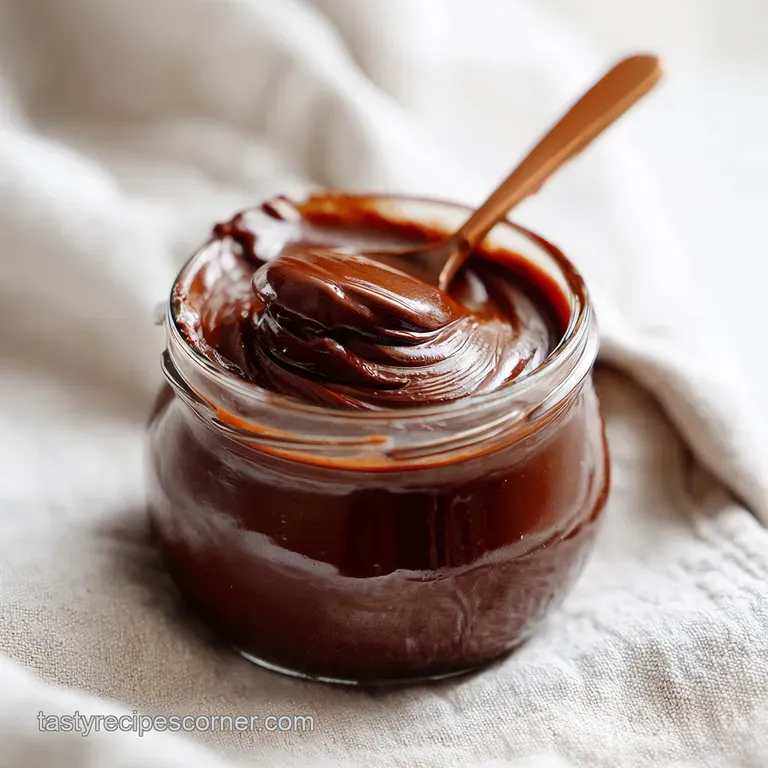
We are going for a texture that is silky enough to drizzle over crepes but stable enough to sit on a piece of sourdough without running off the edges. It takes exactly 32 minutes from start to finish, and most of that is just letting the oven do the heavy lifting.
Once you see those hazelnut skins shatter under a kitchen towel, you'll know you're on the right track to a spread that feels truly professional without the preservatives.
The Reason This Silky Texture Actually Happens
Making a spread like this is all about managing the physical state of the nut fats. It isn't magic; it is just a bit of heat and a lot of friction.
- Friction Liquefaction: As the blades spin, they break the cell walls of the roasted hazelnuts, releasing the internal oils. This transforms solid chunks into a fluid "butter" without needing to add tons of extra liquid.
- Thermal Stability: Roasting doesn't just add flavor; it thins the natural oils inside the nut. Processing them while they are still warm ensures they stay in a liquid state, allowing the cocoa and sweetener to integrate into a smooth emulsion.
- Particle Size Reduction: Using powdered sweetener instead of granulated sugar prevents a gritty mouthfeel. Since there is no water in this recipe to dissolve sugar crystals, starting with a powder is the only way to achieve that velvety finish.
| Feature | Homemade Fresh | Commercial Shortcut |
|---|---|---|
| Nut Content | 70% or higher | Usually 13% or less |
| Primary Fat | Natural hazelnut oil | Palm or vegetable oil |
| Texture | Glossy and slightly fluid | Thick and fudgy |
Processing the hazelnuts while they are still warm is the single step most people skip, but it is the most vital. If the nuts go into the blender cold, the oils are too viscous to release properly, and you'll end up with a chunky paste instead of a smooth spread.
The warmth keeps the fats moving, which is why we work quickly after the skins are removed.
Essential Numbers for Your Kitchen Success
| Component | Analysis | Pro Secret |
|---|---|---|
| Hazelnuts | Base structure and fat source | Roast until mahogany for maximum depth |
| Cocoa Powder | Flavor profile and thickener | Sift first to avoid tiny chocolate lumps |
| Avocado Oil | Emulsion stabilizer | Drizzle at the very end to adjust sheen |
| Monk Fruit | Sweetness without moisture | Must be powdered to keep the spread silky |
The sea salt is also a quiet hero here. It doesn't make the spread salty; rather, it suppresses the bitterness of the cocoa and makes the nuttiness of the filberts pop. Without it, the spread tastes flat and one dimensional.
Gathering Your Hazelnut and Chocolate Components
You'll need high-quality ingredients for this because there are so few of them. Each one has a specific job to do in the final texture.
- 2 cups (270g) raw hazelnuts: Why this? Raw nuts allow you to control the roast level for better flavor.
- 0.5 tsp fine sea salt: Why this? Fine grains dissolve faster in the oil based mixture than coarse salt.
- 0.5 cup (45g) unsweetened cocoa powder: Why this? Provides a deep, dark chocolate base without added fats or sugars.
- 0.75 cup (120g) powdered monk fruit or erythritol: Why this? Keeps the recipe sugar-free while ensuring a perfectly smooth, non gritty texture.
- 1 tsp pure vanilla extract: Why this? Rounds out the cocoa flavors and adds an aromatic floral note.
- 2 tbsp avocado oil: Why this? A neutral oil that stays liquid at room temperature for better spreadability.
Using a neutral oil like avocado or even a light grapeseed oil is better than olive oil here. You don't want the oil to fight with the hazelnuts for dominance. The goal of the added oil is purely for texture, creating that glossy "slick" that makes the spread look so inviting.
Choosing the Right Tools for Maximum Smoothness
You don't need a professional laboratory, but you do need a motor with some heart. A standard food processor will work, but a high speed blender will get you that "store-bought" level of smoothness much faster. If you use a food processor, be prepared to let it run for a few extra minutes.
Make sure you have a clean, lint free kitchen towel ready. Using a textured towel helps grip the skins during the rubbing phase. Avoid using a brand new, fluffy towel unless you want little fibers in your chocolate spread.
An old flour sack towel is actually the gold standard here because it’s thin and provides great friction.
A rimmed baking sheet is also non negotiable. Hazelnuts are round and they love to make a break for it. The rim keeps them contained during the roasting process and when you're moving them from the oven to the towel. Trust me, chasing hot hazelnuts across a kitchen floor is not how you want to spend your afternoon.
Turning Raw Nuts Into Liquid Gold
- Preheat your oven to 350°F (175°C). Spread the hazelnuts in a single layer on a large rimmed baking sheet.
- Roast the hazelnuts for 10–12 minutes until the skins blister and the nuts turn a pale mahogany color. Note: Watch them closely in the last 2 minutes, as they can burn quickly.
- Immediately transfer the hot nuts to a clean kitchen towel. Rub them vigorously for 2 minutes to remove approximately 90% of the bitter skins.
- Place the warm, peeled nuts into a food processor or high speed blender. Pulse initially, then run on high until the nuts transform into a completely liquid nut butter state.
- Add the cocoa powder, powdered sweetener, sea salt, and vanilla extract. Process again until the mixture is glossy and smooth.
- Slowly drizzle in the neutral oil while the processor is running until you reach the desired spreadable sheen and consistency. Note: The spread will thicken slightly as it cools.
Chef's Tip: Don't worry if a few skins remain on the nuts. Those little bits actually add a rustic, toasted flavor that is quite pleasant. As long as the majority are gone, the texture will be fine.
Fixing Grainy Textures and Motor Overheating
Why Your Spread Stays Gritty
If your spread feels like sand on your tongue, it’s usually because the nuts weren't processed long enough before the other ingredients were added. Once you add dry cocoa and powdered sweetener, the mixture thickens, making it much harder for the blades to break down those final nut particles.
| Problem | Root Cause | Solution |
|---|---|---|
| Grainy Texture | Nut particles too large | Process nuts longer before adding cocoa |
| Seized Spread | Moisture contamination | Keep water away; only use oils or extracts |
| Bitter Aftertaste | Burnt skins or nuts | Rub skins more vigorously and check oven temp |
Another reason for graininess is using granulated sweetener. Since there is no water in this spread, the sugar won't dissolve. If you only have granulated monk fruit on hand, give it a whirl in a clean coffee grinder or blender first to turn it into a fine dust.
Common Mistakes Checklist
- ✓ Never skip the roasting step (raw nuts won't release enough oil to become liquid)
- ✓ Avoid adding water based liquids like milk (this will cause the chocolate to seize into a clump)
- ✓ Don't let the nuts cool completely before blending (warmth is your best friend for a smooth finish)
- ✓ Use a neutral oil rather than coconut oil if you want it to stay soft in the fridge
- ✓ Stop the processor every 60 seconds to scrape the sides (ensures an even blend)
Swapping Ingredients for Custom Flavor Profiles
If you want to experiment with the flavor, there is plenty of room to play. While the classic version is hard to beat, a few simple swaps can change the entire vibe of the jar. For example, if you prefer a more "dark chocolate" experience, you can increase the cocoa powder by a tablespoon and reduce the sweetener slightly.
| Original Ingredient | Substitute | Why It Works |
|---|---|---|
| Hazelnuts | Roasted Almonds | Provides a milder, sweeter base but is slightly less creamy |
| Avocado Oil | Melted Cocoa Butter | Adds a rich chocolate aroma and sets firmer at room temperature |
| Vanilla Extract | Spiced Rum | Adds a deep, sophisticated warmth. Note: Adds alcohol notes |
If you are looking for more ways to use these techniques, this method for liquefying nuts is very similar to what I use in my homemade peanut butter balls. The key is always that high friction blending. You can even try adding a pinch of espresso powder to this recipe to make the chocolate flavor taste even more intense without adding more cocoa.
To Fix a Grainy Texture
If you’ve already finished the recipe and it’s still not as smooth as you’d like, try adding one extra teaspoon of oil and processing it on high for a full three minutes. The extra fat helps the particles move past the blades more efficiently.
If that doesn't work, you can pass the spread through a fine mesh sieve, though you'll lose some of the volume.
Keeping Your Homemade Spread Fresh for Weeks
Because this recipe contains no water or dairy, it has a surprisingly long shelf life. You should store it in a glass jar with a tight fitting lid. Glass is better than plastic because it doesn't absorb odors and it's easier to clean if the oils separate over time.
Storage: You can keep this on the counter in a cool, dark place for up to 2 weeks. If you live in a very warm climate, it’s better to keep it in the fridge, where it will last for up to 1 month.
Just keep in mind that it will firm up significantly when cold, so you'll need to let it sit out for 15 minutes before you try to spread it on toast.
Zero Waste: If you find yourself with a nearly empty jar, don't throw it away! Pour some warm milk (dairy or nut based) into the jar, screw the lid on tight, and shake it vigorously. You'll end up with an instant hazelnut hot chocolate and a perfectly clean jar ready for the dishwasher.
You can also use the leftover hazelnut skins as a nitrogen rich addition to your garden compost.
Serving Ideas to Impress Every Guest
This spread is versatile enough to be a component in a larger dessert or the star of a simple snack. It makes a stunning filling for crepes, especially when paired with sliced strawberries or bananas. The acidity of the fruit cuts through the richness of the hazelnuts beautifully.
For a more elegant presentation, try swirling it into a cheesecake or using it as a dip for earl grey shortbread. The bergamot notes in the tea cookies pair surprisingly well with the toasted nuttiness of the spread. If you want to go the savory sweet route, a smear of this on a piece of toasted brioche with a sprinkle of flaky sea salt is a revelation.
| Number of Guests | Batch Size | Prep Adjustment | Cook Adjustment |
|---|---|---|---|
| 1-4 People | 1 Batch | 10 minutes | 12 minutes |
| 8-12 People | 2 Batches | 15 minutes | 15 minutes (rotate trays) |
| Large Party | 4 Batches | 20 minutes | Work in two roasting sessions |
When you're scaling this up for a crowd, remember that your blender or food processor might struggle with too much volume at once. It is always better to make two separate batches than to overload the motor.
Overloading causes heat, and too much heat can actually "cook" the cocoa powder, making it taste chalky rather than rich.
Flavor Myths and Common Misconceptions
One major myth is that "seizing" only happens when you melt chocolate. In reality, your spread can seize if you add even a tiny drop of water or liquid food coloring to the mixture. Because this is an oil based emulsion, any water will cause the cocoa solids to clump together instantly.
If you want to color or thin your spread, always stick to oil based ingredients.
Another misconception is that you need a "special" type of hazelnut. While Italian Piedmont hazelnuts are the gold standard for many, any fresh, raw hazelnut will yield a fantastic result. The freshness of the nut matters far more than the pedigree.
If your nuts smell slightly dusty or metallic before roasting, they are likely rancid toss them and start fresh, or the bitter taste will ruin the entire batch.
Finally, don't believe the idea that you can't get it smooth without a professional stone refiner. While a stone refiner (melanger) is used for commercial chocolate, a modern high speed blender can get the particle size small enough that the human tongue can't distinguish the difference.
It just takes patience and a little bit of extra oil at the end to provide that final lubricated sheen.

Recipe FAQs
Is it true that I should roast the hazelnuts at a lower temperature?
No, this is a common misconception. You must preheat your oven to 350°F (175°C) and roast for 10 12 minutes to ensure the skins blister and the nuts release the oils necessary for a liquid butter state.
Why did my chocolate hazelnut spread seize into a clump?
You likely introduced moisture. Never add water based liquids like milk to your mixture, as even a small amount of liquid causes cocoa powder to seize immediately.
How to achieve the perfect glossy texture?
Process the warm, peeled nuts until fully liquified before adding dry ingredients. If you mastered the emulsion technique here, you can apply that same stability logic when whisking ingredients for our creamy smoothie blend.
Do I need to wait for the hazelnuts to cool before blending?
No, warmth is essential. Always process the nuts while they are still warm to help them transform into a smooth, liquid consistency more efficiently.
How to remove the bitter hazelnut skins effectively?
Transfer the hot nuts directly to a clean kitchen towel and rub them vigorously for 2 minutes. This friction removes approximately 90% of the skins, preventing a bitter aftertaste in your final spread.
Which oil keeps the spread soft in the refrigerator?
Use avocado oil. A neutral oil like avocado oil remains liquid and prevents the spread from hardening, whereas oils like coconut oil will cause it to solidify in the fridge.
How to ensure an even blend during processing?
Stop the processor every 60 seconds to scrape down the sides of the bowl. This simple action ensures all nuts are processed equally, resulting in a perfectly uniform and smooth finish.
Homemade Chocolate Hazelnut Spread
Ingredients:
Instructions:
Nutrition Facts:
| Calories | 86 kcal |
|---|---|
| Protein | 2.1 g |
| Fat | 8.1 g |
| Carbs | 8.3 g |
| Fiber | 1.8 g |
| Sugar | 0.4 g |
| Sodium | 48 mg |
