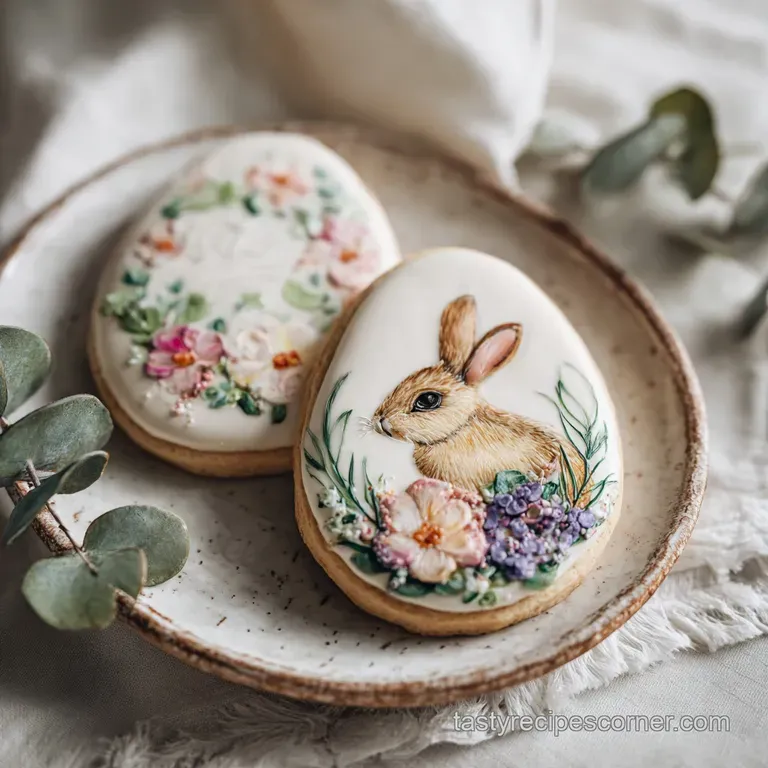
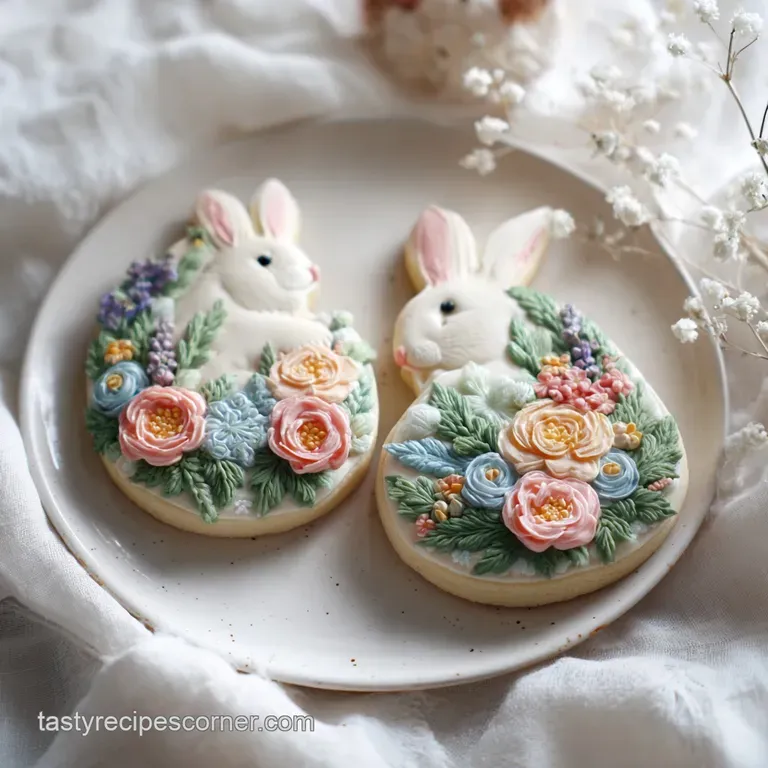
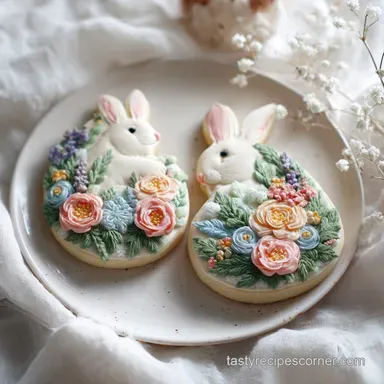
Floral Bunny and Egg Sugar Cookies Recipe
- Time: Active 45 minutes, Passive 3 hours 10 mins, Total 3 hours 55 mins
- Flavor/Texture Hook: Velvety crumb with a crisp almond vanilla snap
- Perfect for: Elegant spring brunches, Easter gifting, or advanced cookie decorating practice
- Master These Floral Bunny and Egg Sugar Cookies
- The Science of the No Spread Snap
- Ingredient Deep Dive for Structural Integrity
- Selection of Elements and Smart Substitutes
- Essential Tools for Professional Results
- The Step-by-Step Path to Floral Mastery
- Troubleshooting Your Spring Bakes
- Adjusting for Large Batches or Small Bites
- Debunking Common Decorating Legends
- Long-Term Storage and Freshness Secrets
- How to Style Your Spring Platter
- Recipe FAQs
- 📝 Recipe Card
Master These Floral Bunny and Egg Sugar Cookies
The first time I tried making shaped cookies for a garden party, it was a total catastrophe. I pulled the tray out of the oven only to find that my cute little bunnies had merged into a singular, amorphous blob of golden dough.
The aroma was incredible, but the aesthetic was more "cloud" than "rabbit." I realized then that a standard sugar cookie recipe just won't cut it when you need sharp, defined edges for decorating.
Since that "Great Blob Incident," I've spent years perfecting a dough that behaves itself. We are talking about edges so crisp they look like they were carved, not baked. When you bite into one, it doesn't crumble into a mess, it offers a satisfying, clean shatter that pairs perfectly with the sweet, smooth royal icing.
It's the kind of bake that makes people ask, "Wait, you actually made these yourself?"
Trust me, once you see that floral pattern settle into the icing without bleeding, you'll be hooked on the process. We are going to use a specific chilling technique and a hint of cornstarch to ensure these cookies stay exactly the shape you cut them.
It's about achievable elegance, even if you don't consider yourself an artist.
The Science of the No Spread Snap
Understanding the "why" behind the dough helps you avoid the heartbreak of a puffy cookie. This recipe relies on specific chemical reactions to maintain its silhouette during the bake.
- Starch Reinforcement: Adding cornstarch interferes with gluten development, creating a tender, velvety texture while simultaneously absorbing excess moisture that causes spreading.
- Fat Temperature Control: Using cold, slightly softened butter ensures the fat stays trapped in the flour's structure longer, preventing the dough from melting outward before it sets.
- Protein Stability: Meringue powder in the icing provides a structural lattice that allows the floral designs to hold their shape without sinking into the base layer.
- Crystalline Structure: The specific ratio of granulated sugar to flour creates a tight crumb that resists air pocket formation, keeping the surface flat for easy flooding.
| Dough Thickness | Baking Temperature | Rest Time | Visual Finished Cue |
|---|---|---|---|
| 6 millimeters | 180°C (350°F) | 10 minutes | Matte surface, pale edges |
| 8 millimeters | 180°C (350°F) | 12 minutes | Firm center, no golden browning |
| 10 millimeters | 170°C (340°F) | 15 minutes | Solid structure, opaque finish |
Success with this floral bunny and egg sugar cookies recipe depends heavily on the thickness of your roll. If you go too thin, the cookie becomes brittle; too thick, and it may puff slightly in the center. I find that 6 millimeters is the "Goldilocks" zone for a sturdy yet delicate bite.
Ingredient Deep Dive for Structural Integrity
Selecting the right components is the difference between a cookie that tastes like flour and one that tastes like a high end bakery treat. Always use high-quality extracts for that signature spring flavor.
| Ingredient | Science Role | Pro Secret |
|---|---|---|
| Unsalted Butter | Provides fat for tenderness | Use European style butter for lower water content and better shape retention. |
| Cornstarch | Controls spread and softens crumb | Sift this with the flour to ensure no clumps disrupt the dough's smoothness. |
| Meringue Powder | Stabilizes the royal icing | This acts as the "glue" that allows for intricate floral piping without sagging. |
| Vanilla Bean Paste | Delivers intense flavor profile | The tiny black flecks add an elegant, premium look to the pale cookie base. |
Selection of Elements and Smart Substitutes
For this recipe, we are using precise weights to ensure consistency. If you want to explore more flavor profiles, you might enjoy my Earl Grey Cookies recipe which uses a similar cold butter technique.
- 227g Unsalted Butter: Cold but slightly softened. Why this? Keeps the dough stable during the cutting process.
- Substitute: High fat vegan butter sticks (must be cold and firm).
- 200g Granulated White Sugar: Provides sweetness and structure. Why this? Finer grains dissolve better for a smooth surface.
- Substitute: Caster sugar for an even smoother dough finish.
- 1 Large Egg: Acts as the binder. Why this? Room temperature eggs emulsify better with the fat.
- Substitute: 3 tablespoons of aquafaba (chickpea liquid) for a vegan friendly binder.
- 1.5 tsp Vanilla Bean Paste: For deep, aromatic flavor. Why this? Offers more visual appeal than clear extract.
- Substitute: 2 tsp of pure vanilla extract.
- 0.5 tsp Almond Extract: Provides that classic "bakery" scent. Why this? Complements the floral notes of the icing.
- Substitute: Lemon extract for a bright, citrusy alternative.
- 375g All Purpose Flour: The structural foundation. Why this? Moderate protein content balances strength and tenderness.
- Substitute: 1:1 gluten-free baking flour (look for a blend with xanthan gum).
- 16g Cornstarch: Prevents spreading. Why this? Creates a "short" texture that breaks cleanly.
- Substitute: Arrowroot powder in equal amounts.
- 0.5 tsp Fine Sea Salt: Enhances all other flavors. Why this? Fine grains distribute evenly through the dry mix.
- Substitute: Table salt (use slightly less as it is saltier by volume).
Essential Tools for Professional Results
You don't need a professional kitchen, but a few specific items make the process of creating floral bunny and egg sugar cookies much smoother. I personally swear by a rolling pin with thickness rings.
- Stand Mixer: A KitchenAid or similar mixer with a paddle attachment is best for not over incorporating air.
- Rolling Pin with Rings: Ensures every cookie is exactly 6 millimeters thick for even baking.
- Parchment Paper: Essential for rolling out dough without adding extra flour, which can make cookies tough.
- Bunny and Egg Cutters: Metal cutters usually provide sharper edges than plastic ones.
- Piping Bags and Small Tips: Use a #1 or #2 tip for the intricate floral details.
- Scribe Tool: A thin needle like tool for popping air bubbles in the icing and dragging colors.
The step-by-step Path to Floral Mastery
This process requires patience, especially during the chilling phases. Do not skip the fridge time, or you will end up with those "cloud bunnies" I mentioned earlier.
1. Constructing the Dough Foundation
Cream the 227g of butter and 200g of sugar together on medium speed until just combined and smooth. Avoid whipping it until fluffy; we want to minimize air bubbles to prevent the cookies from rising or puffing in the oven.
2. Flavoring and Binding
Add the room temperature egg, 1.5 tsp of vanilla bean paste, and 0.5 tsp of almond extract. Mix on low until the yellow of the egg disappears. Note: Scraping the bottom of the bowl is crucial here to ensure the extracts are fully integrated.
3. Incorporating Dry Ingredients
Sift the 375g of flour, 16g of cornstarch, and 0.5 tsp of salt together. Add this to the wet ingredients in three batches, mixing until the dough pulls away from the sides. It should feel like soft playdough and not stick to your fingers.
4. Precision Rolling and Chilling
Divide the dough into two disks and roll them between sheets of parchment paper to 6 millimeters thick. Place these flat sheets in the fridge for 2 hours until firm and cold to the touch. This is the secret to getting those perfect cutouts.
5. Executing the Bake
Preheat your oven to 180°C (350°F). Cut out your bunny and egg shapes, placing them on a lined tray. Bake for 10 minutes until the surface looks matte and set. Do not wait for them to turn brown; they should remain pale.
6. Stabilizing the Royal Icing
Whisk 500g of confectioners' sugar and 3 tbsp of meringue powder. Slowly add the 80ml of warm water while whisking until the icing forms stiff peaks. This "stiff" consistency is what you'll use for the floral details.
7. Flooding the Canvas
Thin a portion of the icing with tiny drops of water until it reaches a "15 second" consistency (it should smooth out in 15 seconds after a knife is run through it). Flood the base of your cookies and let them dry for 4 hours until the surface is hard and glossy.
8. Mastering the Floral Details
Using the stiff peak icing and a small tip, pipe tiny roses or lavender sprigs onto the dried base. Pipe with a steady, upward motion to create height and texture. If you want a more traditional approach, you can see similar decorating ideas in my Classic Sugar Cookie recipe.
Troubleshooting Your Spring Bakes
Even seasoned bakers hit a snag occasionally. The most common issue with floral bunny and egg sugar cookies is usually related to the moisture levels in the icing or the temperature of the dough.
Why Your Cookies Lost Their Shape
If your bunnies look more like bears after baking, the butter was likely too warm. This often happens if the kitchen is hot or if you handled the dough too much with your warm hands.
| Problem | Root Cause | Solution |
|---|---|---|
| Puffy centers | Air beaten into dough | Use low speed on mixer; do not cream butter and sugar until fluffy. |
| Icing craters | Air bubbles in flood icing | Tap the cookie gently on the counter after flooding to bring bubbles to surface. |
| Color bleeding | Icing too wet | Ensure the base layer is completely dry (at least 4 hours) before piping florals. |
Chef's Tip: If you see a bubble in your icing while it's still wet, use a scribe tool or a toothpick to pop it immediately. If it dries, it will leave a permanent "crater" on your bunny's face.
Common Mistakes Checklist
- ✓ Ensure the oven is fully preheated to 180°C before the first tray goes in.
- ✓ Never grease your cookie sheets; use parchment paper or silicone mats instead.
- ✓ Avoid using liquid food coloring in royal icing; gel colors prevent thinning the consistency.
- ✓ Let the cookies cool completely on the baking sheet for 5 minutes before moving to a wire rack.
- ✓ Sift your confectioners' sugar twice to prevent tiny clumps from clogging your piping tips.
Adjusting for Large Batches or Small Bites
Whether you are making 12 cookies for a small tea or 72 for a school bake sale, scaling this recipe is quite straightforward as long as you watch your moisture ratios.
- Scaling Up (2x or 3x): When doubling the recipe, you don't need to double the salt or extracts exactly; use 1.5x the amount to avoid overwhelming the dough. Work in batches to keep the dough cold.
- Scaling Down (1/2): Beat one egg in a small bowl, then use exactly half by weight (about 25g) to ensure the binding power remains consistent for 18 cookies.
- Smaller Shapes: If using mini cutters, reduce the baking time to 7-8 minutes. Smaller cookies dry out much faster than the standard egg shapes.
| Component | Fresh Butter | Margarine/Shortening |
|---|---|---|
| Flavor | Rich, nutty, and creamy | Neutral or slightly oily |
| Shape Hold | Excellent when chilled | Good, but can be "greasier" |
| Mouthfeel | Melts at body temperature | Can leave a film on the palate |
Debunking Common Decorating Legends
One of the biggest myths is that you need a dehydrator to get professional looking royal icing. While a dehydrator speeds things up, a simple desk fan blowing gently over the cookies will achieve the same high gloss finish by drying the top layer quickly.
Another misconception is that the dough needs to be room temperature to roll it out easily. In reality, rolling cold dough between parchment is much more efficient and prevents the need for extra flour, which keeps the floral bunny and egg sugar cookies from becoming tough and dry.
Long Term Storage and Freshness Secrets
Sugar cookies are incredibly hardy, which makes them the ultimate make-ahead treat for busy holiday seasons.
- Room Temperature: Store decorated cookies in an airtight container for up to 1 week. Layers should be separated by parchment paper once the icing is completely hard.
- Freezing (Undecorated): You can freeze the baked, plain cookies for up to 3 months. Thaw them completely before icing to prevent condensation from ruining the sugar.
- Freezing (Decorated): It is possible, but risky. Condensation during thawing can cause the colors to bleed. If you must, thaw them inside the airtight container in the fridge first.
- Zero Waste: Save your dough scraps! Ball them up, chill them again, and roll them out for "test" cookies. Any broken cookies can be pulsed in a blender and used as a crust for my Grandma's Secret Eggnog recipe pie base.
How to Style Your Spring Platter
Presentation is everything when it comes to these delicate designs. I love placing the floral bunny and egg sugar cookies on a bed of edible "moss" (crushed graham crackers dyed with green food coloring) or tucked into a basket with linen napkins.
To truly wow guests, mix your shapes. Place a few "handpainted" floral eggs among the bunnies to create a narrative on the plate. Because these cookies are so sturdy, they also make beautiful place settings just pipe the guest's name in a contrasting color across the center of the egg.
The vanilla bean specks in the dough add a rustic touch that balances out the elegance of the royal icing.

Recipe FAQs
Can I substitute almond extract with pure vanilla for the dough?
No, you should keep the almond extract. Almond extract provides the characteristic "bakery" scent that complements the floral icing; pure vanilla alone results in a flatter flavor profile.
How to ensure the cookie edges remain sharp after baking?
Chill the rolled dough for a minimum of 2 hours before cutting and baking. Cold fat melts slower in the oven, which prevents the dough structure from spreading outwards before it sets.
What consistency should the royal icing be for flooding the base layer?
Aim for a 15-second consistency. This means when you drag a knife through the icing, it takes about 15 seconds for the line to disappear back into the surrounding icing.
Is it true that freezing decorated cookies ruins the royal icing finish?
Not necessarily, but it requires careful thawing. Condensation is the enemy; always thaw the cookies while still sealed in their airtight container to prevent moisture from causing colors to bleed.
How to prevent air bubbles from appearing on the smooth flooded cookie surface?
Gently tap the tray immediately after flooding. After placing the cut-outs on the prepared sheet, tap the tray firmly several times on the counter to force trapped air to the surface where you can pop it with a scribe tool.
Can I use a different type of sugar instead of granulated white sugar?
Caster sugar is the best substitute if you must change it. Caster sugar has finer grains that incorporate more smoothly into the dough structure, which supports the intricate floral design later; using brown sugar drastically alters the spread and color.
How do I evenly roll the dough to exactly 6 millimeters thick?
Use rolling pin guides or thickness rings. Roll the dough between two sheets of parchment paper with fixed thickness spacers placed on either side to ensure a uniform depth across the entire sheet.
Floral Bunny Sugar Cookies
Ingredients:
Instructions:
Nutrition Facts:
| Calories | 167 kcal |
|---|---|
| Protein | 1.6 g |
| Fat | 5.4 g |
| Carbs | 28.5 g |
| Fiber | 0.3 g |
| Sugar | 19.5 g |
| Sodium | 45 mg |
