Decadent Keto Brownies: Fudgy and Rich
- Time: Active 10 minutes, Passive 25 minutes, Total 35 minutes
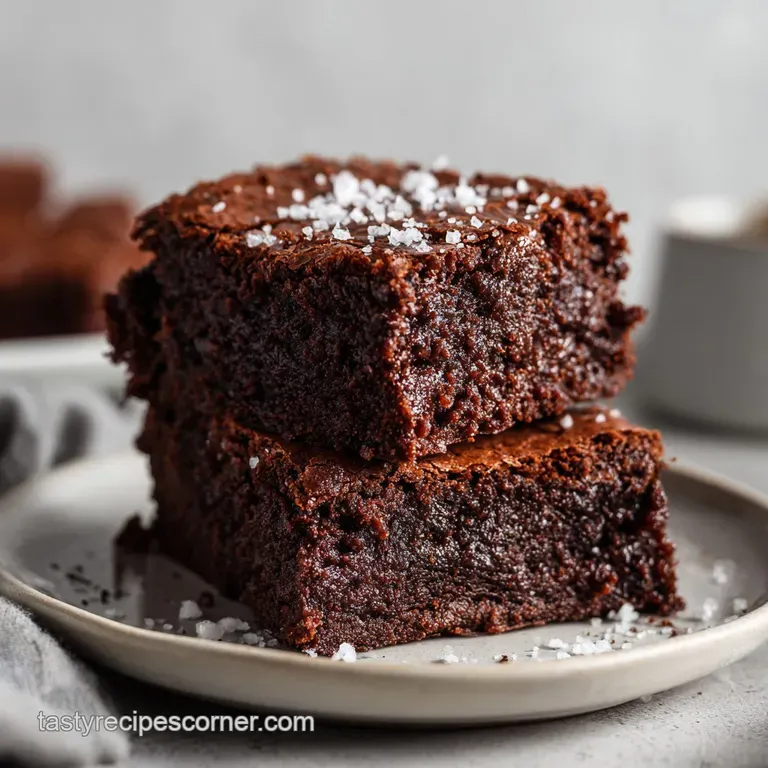
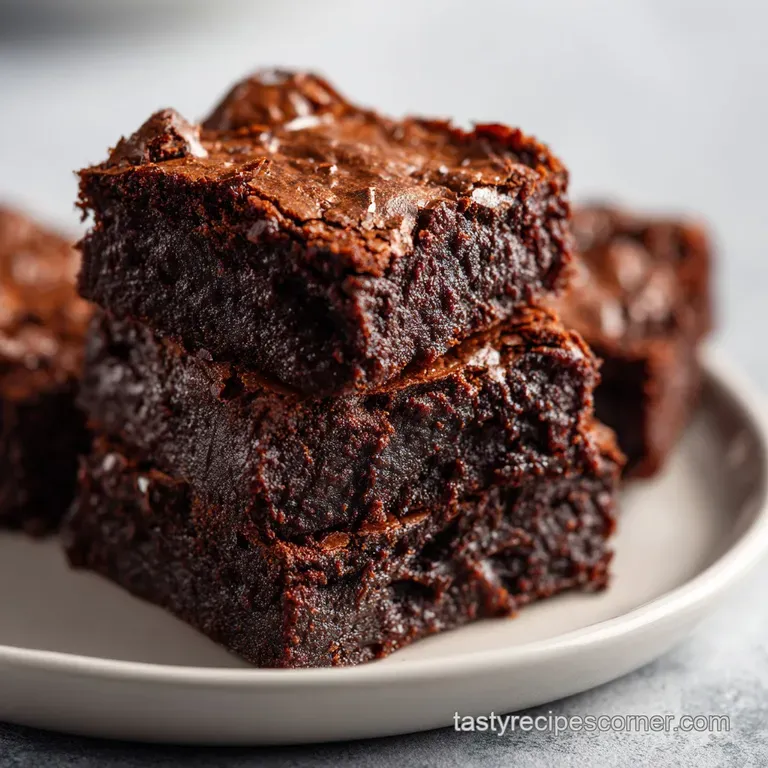
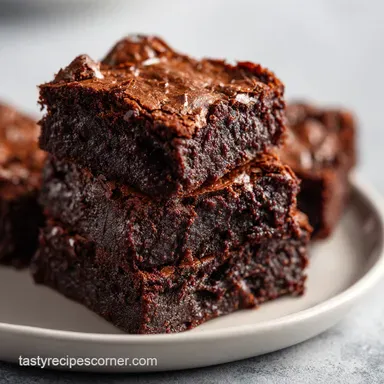
- Flavor/Texture Hook: Fudgy, dense center with a shatter crisp top crust
- Perfect for: Elegant dinner parties or satisfying a deep chocolate craving
- The Secret to Fudgy Keto Brownies and Texture Control
- Numerical Milestones for Success and Quick Decision Logic
- Essential Components for a Decadent Sugar Free Bake
- Tools Needed to Achieve a Professional Kitchen Result
- The Step by Step Path to Chocolate Excellence
- Correcting Common Baking Flaws for a Flawless Finish
- Personalizing the Flavor Profile with Elegant Additions
- Preservation Methods to Maintain That Fresh Baked Quality
- Visual Accents and Serving Suggestions for Stylish Entertaining
- Debunking Common Kitchen Myths
- Recipe FAQs
- 📝 Recipe Card
The Secret to Fudgy Keto Brownies and Texture Control
The first time I pulled a tray of these out of the oven, the aroma was so intense it filled the entire house with a scent that felt like a high end Parisian patisserie. I used to think that cocoa powder was the only way to get a deep chocolate flavor, but the real star of the show here is the 3 oz of unsweetened chocolate baking bar.
It provides a structural backbone and a silky mouthfeel that cocoa powder alone simply cannot replicate. When you melt it down with the unsalted butter, it creates this glossy, thick ribbon of liquid gold that sets the stage for everything else.
The reason most low carb desserts fall flat is that they lack that specific "shatter" on the top. You know the one where the surface looks like thin, crinkled tissue paper that breaks under the slightest pressure. I discovered that the magic isn't in the flour, but in how you treat the eggs.
By whisking them vigorously with the monk fruit until they turn pale and frothy, you’re essentially creating a stable foam that rises to the surface during baking. It's a small detail that makes the difference between a boring chocolate snack and a sophisticated dessert that will wow guests.
We are aiming for a result that feels substantial and rich, not airy like a cake. If you’ve ever been disappointed by "cakey" brownies, it’s usually because of too much leavening or over mixing once the flour is added.
In this recipe, we skip the baking powder entirely and rely on the physics of the eggs and the density of the almond flour. The result is a heavy, fudge like consistency that clings to the fork in the most satisfying way possible.
Trust me, once you see that first crack on the surface, you’ll know you’ve hit the jackpot.
Numerical Milestones for Success and Quick Decision Logic
Understanding the physical changes your batter undergoes is the best way to ensure consistency every time you bake. We aren't just following steps; we are managing temperatures and textures to achieve a specific outcome.
Because keto ingredients behave differently than traditional wheat and sugar, watching these specific checkpoints is vital.
Fat Emulsification: The melted butter and chocolate bar must be smooth and glossy before adding the cocoa. If the fat separates, the brownies will be greasy rather than fudgy.
Aeration Control: Whisking the eggs for exactly 1-2 minutes is the sweet spot. Any less, and you won't get the crackly top; any more, and you risk a spongy, cake like texture that loses its decadence.
Moisture Retention: Almond flour is moisture rich but lacks the binding power of gluten. The 25 minutes of baking time is calculated to let the edges set while keeping the middle soft enough to solidify into fudge as it cools.
Flavor Synergy: The espresso powder acts as a chemical highlighter. It doesn't make the brownies taste like coffee; instead, it deepens the bitter notes of the unsweetened chocolate, making the overall flavor profile feel more "adult" and complex.
| Feature | Microwave Method (Fast) | Double Boiler (Classic) | Sensory Result |
|---|---|---|---|
| Prep Time | 10 minutes | 20 minutes | Both result in silky batter |
| Texture | Dense and fudgy | Slightly smoother melt | Nearly identical |
| Skill Level | Beginner friendly | Intermediate | Consistency is key for both |
When you are deciding which path to take, the microwave is your best friend for a quick weeknight treat, but the double boiler offers a bit more control if you are worried about scorching the chocolate. Regardless of the method, the goal is a velvety liquid base that smells like a dream.
Essential Components for a Decadent sugar-free Bake
Every ingredient in this recipe serves a structural or chemical purpose. We aren't just swapping things out for the sake of it; we are building a new kind of chemistry that respects the behavior of alternative sweeteners and nut flours.
| Ingredient | Science Role | Pro Secret |
|---|---|---|
| Unsweetened Chocolate Bar | Provides structural fat and cocoa solids | Chop into very small, even pieces for a faster, safer melt |
| Large Eggs (Room Temp) | Creates the "meringue" top and binds the flour | Submerge cold eggs in warm water for 5 minutes to reach temp fast |
| Monk Fruit Sweetener | Dissolves to create a syrupy base | Use the granulated version to help the eggs aerate properly |
| Super fine Almond Flour | Adds bulk without the gluten snap | Always sift if you see lumps to ensure a velvety crumb |
The choice of Dutch processed cocoa powder is non negotiable here. Unlike natural cocoa powder, the Dutch processed variety is treated with an alkalizing agent that neutralizes its acidity. This results in a darker color and a much smoother, less "sharp" flavor that pairs beautifully with the dark chocolate chips.
Tools Needed to Achieve a Professional Kitchen Result
You don't need a pantry full of gadgets, but a few specific items will make your life much easier. An 8x8 inch square baking pan is the gold standard for this yield. If you go larger, the brownies will be too thin and prone to drying out; if you go smaller, the center may stay raw while the edges burn.
Parchment paper is your insurance policy. I always leave about two inches of overhang on the sides. These "handles" allow you to lift the entire block of brownies out of the pan once they have cooled. This is the only way to get those clean, sharp edges that look so elegant on a serving platter.
A heavy glass bowl for melting is also better than plastic, as it retains heat more evenly and won't leach any weird flavors into your expensive chocolate.
Finally, a sturdy whisk and a silicone spatula are your primary instruments. You need the whisk for the eggs to get that air in, but you must switch to the spatula for the almond flour. If you whisk the flour, you might overwork the batter, leading to a tough result.
Folding is a gentle, sweeping motion that preserves the air bubbles we worked so hard to create.
The step-by-step Path to Chocolate Excellence
Preheat your oven to 325°F (160°C). Line an 8x8 inch square baking pan with parchment paper, leaving an overhang on two sides to act as handles. Lightly grease the parchment with a tiny bit of butter.
Note: The low temperature prevents the edges from overcooking before the middle is set.
In a large microwave safe glass bowl, melt the 1/2 cup unsalted butter and 3 oz chopped unsweetened chocolate in 30 second intervals. Stir between each burst until the mixture is completely smooth and glossy.
Whisk the 1/2 cup Dutch processed cocoa powder into the melted chocolate mixture. Work the whisk in circles until no lumps remain and the aroma intensifies.
In a separate bowl, vigorously whisk the 3 large room temperature eggs with the 1 cup granulated monk fruit sweetener for 1-2 minutes. Stop until the mixture is slightly pale and holds a soft trail; this creates that iconic crackly top.
Slowly fold the egg mixture into the chocolate base using a spatula, then stir in the 1 tsp vanilla extract and 1/4 tsp sea salt. Note: Salt is the secret weapon that makes the chocolate flavor pop.
Gently fold in the 1 1/2 cups super fine almond flour and 1/2 tsp espresso powder. Use a "cut and fold" motion until the white streaks of flour just disappear. Do not overmix.
Fold in the 1/2 cup sugar-free dark chocolate chips. Pour the thick batter into the prepared pan and smooth the top with your spatula.
Bake for 25 minutes. You'll know it's ready when the edges are set and dry, but the center still has a slight jiggle. Let them cool completely in the pan this is the hardest part, but it's where the fudge texture truly develops.
Correcting Common Baking Flaws for a Flawless Finish
Even the best bakers run into trouble sometimes. The most common issue with keto baking is the "cooling sensation" caused by some sweeteners, or a texture that feels a bit too crumbly. Usually, these are easy fixes once you know what to look for.
Reasons for a Crumbly Texture
If your brownies are falling apart when you slice them, it’s often because they haven't had enough time to set. Unlike wheat based brownies, almond flour needs to cool to "grip" onto the fats and proteins in the recipe.
Another culprit could be using "almond meal" instead of "super fine blanched almond flour." The coarser grind doesn't bind as well, leading to a grainy, fragile structure.
Addressing the Cooling Sensation
Some brands of monk fruit blends contain a high amount of erythritol, which can leave a cold feeling on the tongue. To fix this, ensure your chocolate to sweetener ratio is balanced. The bitterness of the 3 oz unsweetened chocolate bar and the espresso powder helps mask this effect.
Also, serving the brownies at room temperature rather than cold from the fridge significantly reduces the cooling sensation.
| Problem | Root Cause | Solution |
|---|---|---|
| Oily Surface | Butter and chocolate separated during melting | Melt more slowly; stir constantly to keep the emulsion stable |
| Dry/Cakey Middle | Over baked or too much flour added | Check doneness 2 minutes early; spoon and level your flour |
| No Crackly Top | Eggs weren't whisked enough with sweetener | Whisk for a full 2 minutes until the eggs are frothy and pale |
Common Mistakes Checklist
- ✓ Use room temperature eggs to ensure they emulsify perfectly with the warm butter.
- ✓ Pat your almond flour down in the measuring cup or, better yet, weigh it for precision.
- ✓ Don't skip the espresso powder; it's the bridge between "good" and "gourmet."
- ✓ Always line the pan with parchment; keto brownies are notoriously sticky when warm.
- ✓ Let the brownies cool for at least 1 hour before lifting them out of the pan.
Personalizing the Flavor Profile with Elegant Additions
Once you've mastered the base, you can start to play with variations. While I love the classic version, adding textures can make this even more impressive for guests. If you're in the mood for something different, you might enjoy trying my No Bake Keto Peanut Butter Cookies which offer a similar nutty richness without the oven time.
Keto Walnut Brownies
Adding 1/2 cup of toasted, chopped walnuts into the batter at the same time as the chocolate chips adds a fantastic crunch. The earthiness of the walnuts complements the Dutch processed cocoa beautifully. Just make sure to toast them in a dry pan for 3 minutes first to release their oils.
dairy-free Alternatives and Results
You can swap the unsalted butter for an equal amount of refined coconut oil. Note that this will result in a slightly softer brownie at room temperature, as coconut oil has a lower melting point than butter.
Use "refined" oil if you want to avoid a tropical coconut flavor, though some people find that hint of coconut quite pleasant with dark chocolate.
Preservation Methods to Maintain That Fresh Baked Quality
Storage is where many people go wrong. Because these are so moist, leaving them out on the counter in a humid kitchen can make them go soft too quickly. I recommend keeping them in an airtight container at room temperature for up to 3 days. For longer storage, the refrigerator is your friend.
Cold keto brownies actually take on a texture similar to chocolate truffles, which is a delightful surprise.
To freeze them, wrap individual squares tightly in plastic wrap and then place them in a freezer bag. They will keep perfectly for up to 3 months. When the craving hits, just let one sit on the counter for 20 minutes, or give it a 10 second zap in the microwave for that "just baked" warmth.
This recipe scales down easily if you use a smaller loaf pan, but honestly, they disappear so fast that you'll probably wish you'd made a double batch.
If you are cooking for a crowd and need a savory counterpoint to all this chocolate, I often serve these after a meal of Keto Zuppa Toscana. The spicy sausage and kale provide a savory depth that makes the rich chocolate brownie feel like the ultimate reward at the end of the night.
Visual Accents and Serving Suggestions for Stylish Entertaining
Presentation is the final step in achieving that "wow" factor. A plain brown square is fine for a snack, but for a dinner party, we want color balance. Using a few strategic garnishes can turn these into a showstopper.
- 1. Sea Salt Flakes (White)
- Sprinkle these over the top as soon as the pan comes out of the oven. The white crystals sparkle against the dark chocolate and provide a sharp, clean contrast that cuts through the richness.
- 2. Fresh Raspberries (Deep Red)
- Just before serving, place three small raspberries on top of each square. The vibrant red adds an expensive, sophisticated look and a tart burst of flavor.
- 3. Mint Sprigs (Bright Green)
- Tuck one tiny, bright green mint leaf into the side of the raspberries. This adds a "garden fresh" element that makes the plate look professionally styled.
When you plate these, use a light colored ceramic dish to make the dark chocolate colors pop. A small dollop of unsweetened whipped cream on the side can also add a velvety white element that balances the density of the brownie.
Debunking Common Kitchen Myths
There is a persistent myth that "searing" the bottom of a brownie pan with high heat makes them fudgier. In reality, high heat just dries out the edges before the center has a chance to stabilize. A consistent, lower temperature of 325°F is much better for the delicate fats in almond flour.
Another misconception is that you need baking soda for a rise. In fudgy brownies, any chemical leavening will actually work against you by creating air pockets that make the texture cake like. We want the weight of the chocolate and butter to keep the crumb tight and dense.
The only "rise" we want is the thin layer of egg foam that creates the crackly crust, and that is achieved through mechanical whisking, not chemical leaveners.
Finally,, many people believe that "keto chocolate" is always inferior to the real thing. By using a high-quality unsweetened baking bar and Dutch processed cocoa, you are using the exact same base ingredients as world class chocolatiers.
The only difference is the sweetener, and when balanced with salt and espresso, your guests won't even realize they're eating a sugar-free dessert. It’s all about the quality of the cocoa solids.

Recipe FAQs
What are the 5 ingredient brownies?
This recipe requires ten specific ingredients for the ideal fudgy texture. While some versions simplify to five items, using all listed components like Dutch processed cocoa and espresso powder ensures the deep, professional flavor profile that defines a high-quality brownie.
Is Duncan Hines keto brownies really keto?
No, this is a common misconception. Many store-bought "keto" mixes contain fillers or sweeteners that can spike blood sugar, whereas this homemade version uses almond flour and monk fruit for a strictly controlled carbohydrate count.
How to make brownies with 3 ingredients?
Combine melted chocolate, eggs, and sweetener to create a basic base. However, omitting ingredients like almond flour and butter will result in a dessert that lacks structural integrity and the signature fudge like mouthfeel achieved in our full recipe.
Are keto brownies healthy?
Yes, when used as part of a balanced diet. By replacing refined sugar and wheat with almond flour and monk fruit, you significantly lower the glycemic impact while still enjoying a satisfying treat that pairs well with lighter, low carb vegetable based meals.
Why do my brownies fall apart when slicing?
You are likely slicing them before they have fully cooled. Keto brownies need at least one hour in the pan to set; if you attempt to cut them while warm, the lack of gluten will cause the tender structure to crumble.
How to get a crackly top on keto brownies?
Whisk the eggs and sweetener vigorously for two full minutes before adding the chocolate. This aeration process is the secret to creating that delicate, papery crust on top of a dense, fudgy interior.
Is it necessary to use espresso powder?
Yes, it is highly recommended for the best flavor. The espresso powder acts as a flavor enhancer that cuts through the richness of the unsweetened chocolate and deepens the notes of the cocoa powder.
Decadent Keto Brownies
Ingredients:
Instructions:
Nutrition Facts:
| Calories | 178 kcal |
|---|---|
| Protein | 4.6 g |
| Fat | 16.3 g |
| Carbs | 20.4 g |
| Fiber | 5.1 g |
| Sugar | 0.4 g |
| Sodium | 62 mg |
